
Introduction to Onigiri Japanese Rice Balls
The Delight of Homemade Onigiri
If you’re exploring the world of Japanese cuisine, onigiri, or Japanese rice balls, are a must-try! These little bites of joy are not only portable and versatile, but they also resonate deeply with the culture of Japan. Crafted from short-grain rice, onigiri can be filled with a variety of ingredients, making them perfect for any occasion—whether it’s a picnic or a comforting lunch at home.
What’s particularly delightful about making your own onigiri is the chance to get creative! The traditional fillings, such as bonito flakes or pickled plums, can be easily substituted with whatever your tastebuds crave. Imagine a savory filling of grilled salmon or even sesame-infused chicken ham. The options are endless!
Moreover, preparing onigiri can be a fun activity that involves family and friends. Have you ever made a dish that encouraged conversation and laughter? Onigiri does just that. Plus, with its charming triangle shape, it adds an artistic flair to mealtime.
As we dive deeper into this recipe, you’ll discover how easy and satisfying it is to create these Japanese rice balls in your own kitchen. Ready to impress your taste buds? Let’s get started!
Ingredients for Onigiri Japanese Rice Balls
Essential ingredients you'll need
To whip up these delightful onigiri Japanese rice balls, you'll need a handful of key ingredients:
- 4 cups uncooked short-grain white rice: This gives your rice balls the perfect sticky texture, essential for shaping and holding the filling.
- 5 ½ cups water, divided: This adjusts the rice-to-water ratio perfectly; keeping it moist is crucial!
- ¼ teaspoon salt: Just a pinch enhances the overall flavor.
- ¼ cup bonito shavings: These dry fish flakes add a savory umami kick that elevates your rice balls.
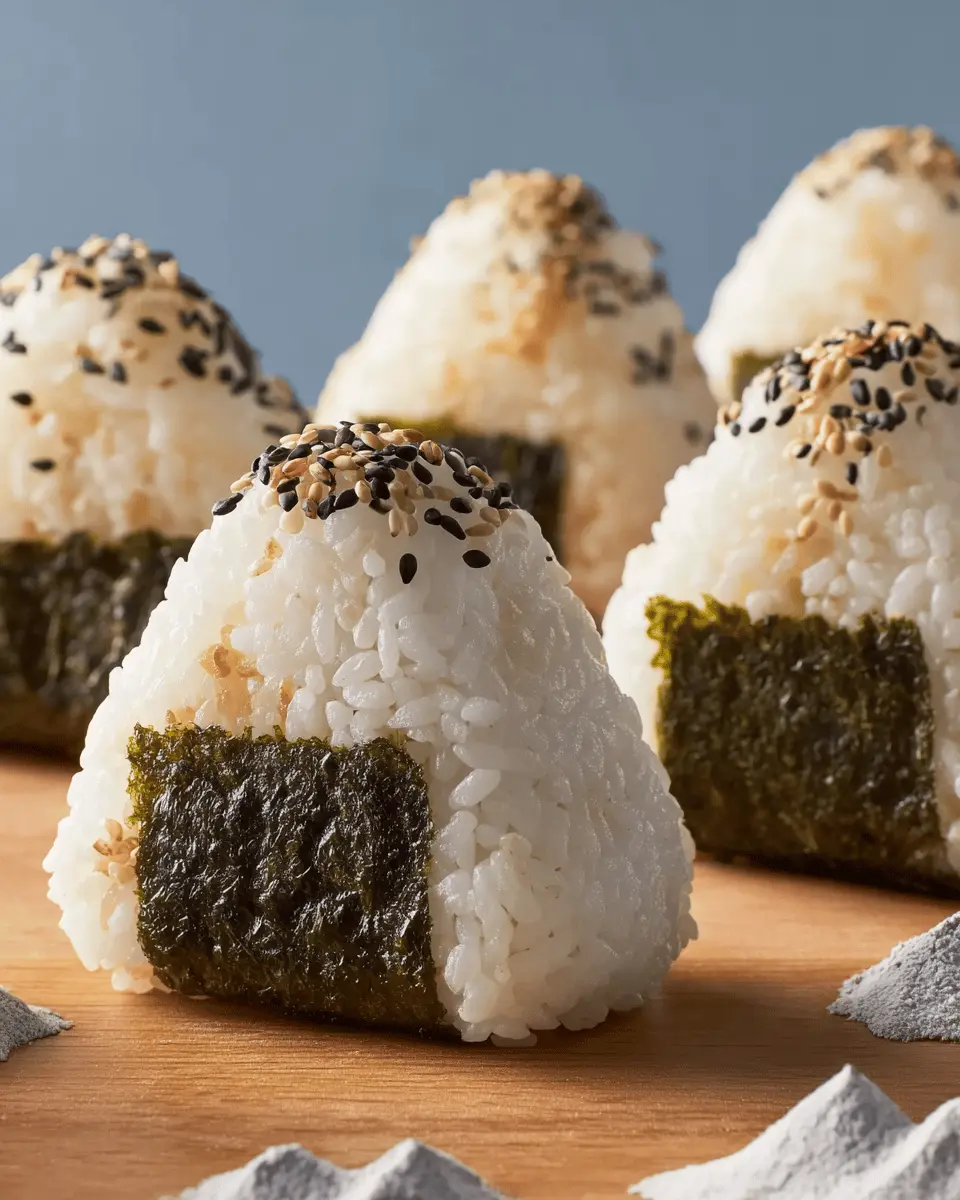
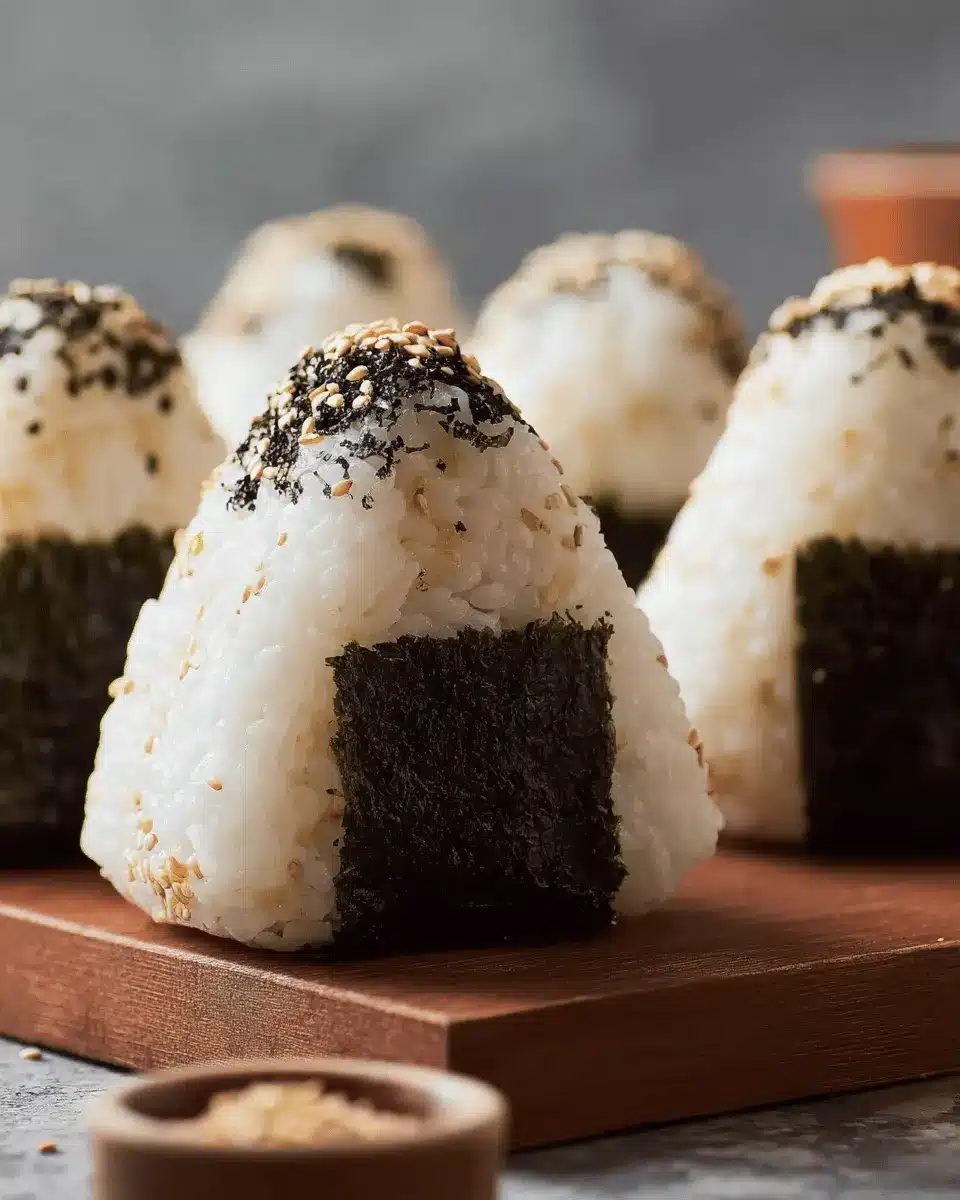
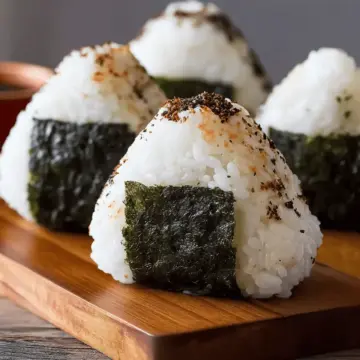
- 2 sheets nori: Cut into strips, nori adds crunch and flavor; it's a classic finish for onigiri.
- 2 tablespoons sesame seeds: For an extra layer of nuttiness and crunch.
Optional fillings and extras
While the basic onigiri is delightful on its own, feel free to unleash your creativity! Consider these delicious optional fillings and toppings:
- Grilled salmon or tuna: Both add richness to your rice balls.
- Pickled plums (umeboshi): These offer a tangy twist, balancing the savory flavors beautifully.
- Vegetables like cucumber or pickled radish: Great for adding freshness and crunch.
- Protein options like turkey bacon or chicken ham: These provide heartiness for a fulfilling snack.
For more inspiration on onigiri fillings, check out this Japanese cooking resource that dives deeper into traditional choices!
Preparing Onigiri Japanese Rice Balls
Onigiri, or Japanese rice balls, hold a special place in Japanese cuisine. They are not only delicious, but also customizable, making them a favorite for picnics or lunchboxes. Let’s dive into the steps to create these delightful little bites from scratch!
Rinsing the Rice
The first step in preparing onigiri is to rinse your short-grain white rice. This crucial step removes excess starch, ensuring the rice cooks evenly and achieves the perfect texture. Place the rice in a fine-mesh strainer and rinse it under cold running water. Keep rinsing until the water runs clear – this usually takes a few minutes. The difference in taste and texture is significant, so don’t skip this!
Cooking the Rice
Once your rice is rinsed, it’s time to cook it. In a saucepan, combine the washed rice with about 4 ½ cups of water. Bring the mixture to a boil over high heat, giving it a gentle stir occasionally. After boiling, reduce the heat to low, cover, and let it simmer for about 15 to 20 minutes until the water is absorbed. The rice should be tender and fluffy. After cooking, let the rice rest covered for an additional 15 minutes. This resting period allows it to finish steaming – trust me, the flavor will be worth it!
Cooling and Prepping Rice
After the rice has rested, transfer it to a large bowl and let it cool slightly. If you’re in a hurry, you can spread it out on a clean surface to speed up the cooling process. While the rice cools, you can prepare your filling, whether it’s bonito flakes, pickled plums, or even some tasty grilled salmon. A flavorful filling can elevate your onigiri to new heights!
Shaping the Onigiri
Now comes the fun part: shaping your onigiri! Wet your hands with the water-salt mixture to prevent sticking. Take a portion of the cooled rice and shape it into a dimple. Scoop in your chosen filling, then cover with more rice and gently press to form a triangle. Don’t worry if it’s not perfect! Each onigiri is unique, and practice makes perfect.
Adding the Finishing Touches
Finally, it’s time to dress up your onigiri. Wrap each rice ball with a strip of nori (seaweed) for flavor and a delightful crunch. You can also sprinkle some sesame seeds for added texture. These finishing touches not only enhance the appearance but also add nutritional benefits.
And there you have it! A step-by-step guide to preparing onigiri Japanese rice balls that are sure to impress. Whether for a snack or lunch, these little rice bites are as versatile as they are delicious. Enjoy making them and experimenting with your favorite fillings! Happy cooking!
Variations on Onigiri Japanese Rice Balls
Classic Salmon Onigiri
One of the most cherished versions of onigiri is the classic salmon. Filled with flaked grilled salmon, these rice balls offer a delightful combination of savory and umami flavors. Simply mix cooked salmon with a bit of soy sauce before adding it to your rice. The result is a comforting lunch perfect for any day. You can find some fantastic salmon recipes on sites like Just One Cookbook to elevate this simple dish.
Creative Vegetarian Options
For those looking for creative vegetarian options, consider filling your onigiri with a variety of ingredients. You could use seasoned avocado or a mix of sautéed vegetables with soy sauce for an earthy delight. Another popular choice is umeboshi (pickled plums), which adds a tangy burst of flavor. The beauty of onigiri lies in its versatility—experiment with ingredients you love and enjoy a nutritious meal tailored to your taste! Check out Cooking Light for more vegetarian ideas.
Cooking Tips and Notes for Onigiri Japanese Rice Balls
Achieving the perfect texture
For flawless onigiri Japanese rice balls, using short-grain rice is essential—it provides the sticky texture needed to hold your shapes. Wash the rice until the water runs clear to remove excess starch and ensure even cooking. Allow the rice to rest after cooking to enhance its tenderness. Remember, the right amount of moisture is key; you can adjust the water slightly based on your rice brand.
Storing and reheating tips
If you're not serving all your onigiri immediately, store them wrapped in plastic wrap in the fridge to keep them fresh. When you're ready to enjoy them, lightly steam or microwave them at low power for a few seconds to avoid drying out. For best results, eat them within a day for that delightful texture.
For more tips on mastering sushi rice, check out Serious Eats, which offers expert insights into achieving the perfect rice consistency.

Serving suggestions for Onigiri Japanese Rice Balls
Pairing with sauces and sides
Elevate your onigiri Japanese rice balls by pairing them with a variety of delicious sauces and sides. Try serving them with soy sauce, wasabi, or ponzu for a zesty kick. A side of miso soup or a fresh Japanese cucumber salad can round out your meal nicely. Want to jazz things up? Create a dipping platter with pickled ginger and sesame oil, perfect for those who love more flavor!
Creative lunchbox ideas
Transform your meal prep with innovative lunchbox combinations featuring onigiri. Pack a selection of rice balls filled with different proteins like grilled salmon or tuna salad, alongside sliced fruits and crunchy veggies. You can also include mini portions of chicken ham or turkey bacon for a savory touch. Adding a small container of dipping sauce will make lunchtime exciting and interactive! Personalize each lunchbox for variety; the sky’s the limit! Looking for inspiration? Check out sites like Just One Cookbook for bento ideas.
Time Breakdown for Onigiri Japanese Rice Balls
When you’re gearing up to make onigiri, here’s a quick timeline to help you organize your kitchen plans:
Preparation Time
Spend about 20 minutes prepping ingredients. This includes washing and measuring your rice, prepping water, and any fillings you want to include.
Cooking Time
The actual cooking takes around 20 minutes, as you’ll bring the rice to a boil before letting it simmer until perfectly tender.
Cooling and Shaping Time
Factor in 20 minutes for the cooked rice to cool, plus the time needed to shape each onigiri into delightful triangles.
For more tips on making these delicious Japanese rice balls, check out additional resources on Japanese cuisine here.
Nutritional Facts for Onigiri Japanese Rice Balls
Calories per Serving
Each serving of onigiri Japanese rice balls contains approximately 744 calories. This makes them a filling and satisfying option for lunch or a snack. If you're mindful of your caloric intake, consider adjusting the portion size or adding lighter fillings.
Key Vitamins and Minerals
These delightful rice balls not only taste great but also offer several health benefits. Each serving includes:
- Iron: 9 mg (essential for transporting oxygen in the blood)
- Calcium: 61 mg (important for bone health)
- Potassium: 181 mg (supports heart function and muscle contraction)
- Dietary Fiber: 6 g (aids digestion)
By incorporating onigiri into your diet, you're not just enjoying a culinary gem but also boosting your overall nutritional intake. For more detailed nutritional information, check out resources like the USDA's FoodData Central.
If you're looking to try other delicious variations, consider adding nutrient-rich fillings such as grilled salmon or pickled plums. You'll not only enhance the flavor but also pack in more vitamins and minerals!
FAQ about Onigiri Japanese Rice Balls
Can I use brown rice instead of white?
Absolutely! While traditional onigiri uses short-grain white rice, brown rice can be a nutritious alternative. It adds a nutty flavor and extra fiber to your Japanese rice balls. Keep in mind that brown rice typically requires a longer cooking time and may yield a different texture, so some experimentation might be needed to achieve that perfect shape.
What fillings work best in onigiri?
When it comes to filling your onigiri Japanese rice balls, the sky's the limit! Popular options include:
- Grilled salmon
- Pickled plums
- Tuna with mayonnaise
- Chicken ham
- Turkey bacon
You can also get creative with veggies or spicy sauces, catering to your taste preferences.
How long do onigiri last in the fridge?
For optimal freshness, enjoy your onigiri within 1-2 days if stored in the fridge. However, if you want to keep them longer, freeze them! When stored properly in an airtight container, they can last up to a month. Just be sure to thaw and heat them gently to maintain their delightful texture.
Curious to learn more about these delicious rice balls? Check out this article on Japanese rice traditions for deeper insights!
Conclusion on Onigiri Japanese Rice Balls
Making onigiri Japanese rice balls is a delightful culinary adventure that brings joy to both the cook and those who get to enjoy the finished product. With endless filling possibilities, these rice balls can cater to any palate. Dive into this fun tradition, and experience the creativity and satisfaction that onigiri offers!
Onigiri (Japanese Rice Balls)
Equipment
- mesh strainer
- saucepan
- small bowl
Ingredients
- 4 cups uncooked short-grain white rice
- 5 ½ cups water, divided
- ¼ teaspoon salt
- ¼ cup bonito shavings (dry fish flakes)
- 2 sheets nori (dry seaweed), cut into ½-inch strips
- 2 tablespoons sesame seeds
Instructions
Directions
- Wash rice in a mesh strainer until water runs clear. Combine washed rice and 4 ½ cups water in a saucepan. Bring to a boil over high heat, stirring occasionally. Reduce heat to low; cover, and simmer rice until water is absorbed, 15 to 20 minutes. Let rice rest for 15 minutes to continue to steam and become tender. Allow cooked rice to cool.
- Combine remaining 1 cup water with salt in a small bowl; use to dampen hands before handling rice. Divide cooked rice into 8 equal portions. Use one portion of rice for each onigiri.
- Divide one portion of rice in two. Create a dimple in rice and fill with a heaping teaspoon of bonito flakes. Cover with remaining portion of rice and press lightly to enclose filling inside rice ball. Gently press rice to shape into a triangle; wrap with a strip of nori and sprinkle with sesame seeds. Repeat with remaining portions of rice.


Leave a Reply