
Dutch Oven No Knead Bread Outline
If you're looking to impress friends and family with homemade artisan bread, the Dutch Oven No Knead Bread is your secret weapon. Imagine pulling a beautifully crusty loaf from the oven with minimal effort—sounds ideal, right? This method requires just 5 minutes of prep, making it a fantastic choice for busy young professionals. Let’s break down how to make this delicious bread step-by-step!
What You'll Need for the Perfect Loaf
To embark on your bread-baking adventure, you'll want to gather the necessary tools and ingredients. Here's what you need:
Essential Equipment
- Dutch Oven: Essential for creating that perfect crust.
- Silicone Spatula: Great for mixing and scraping.
- Parchment Paper: Prevents sticking and makes transfer easy.
- Meat Thermometer: Handy for checking the water temperature for yeast activation.
Key Ingredients
- Warm Water: About 100°F for yeast activation.
- Yeast: One packet of active dry, instant, or quick-rise yeast.
- Fine Grain Salt: Enhances flavor—go for 1.5 teaspoons.
- All-Purpose or Bread Flour: About 3.25 cups, but keep in mind you may need more for dusting and achieving the right consistency.
For an extra touch of flavor, don’t hesitate to add herbs or even roasted garlic into your dough!
The Simple Steps to Mastering Dutch Oven No Knead Bread
You might be surprised at how straightforward this process is! Here’s a brief outline of the key steps involved:
Mixing Your Dough
- In a large bowl, combine warm water, yeast, and salt until dissolved.
- Stir in flour until you have a sticky, messy dough—don’t worry, it’s supposed to be like that!
Let It Rise
- Cover the bowl and let the dough rise for 2-3 hours until it doubles in size.
- Pro tip: Create a warm environment by turning your oven on for a few minutes and then turning it off, placing the bowl inside.
Shaping and Prepping for Baking
- After the rise, shape your dough on floured parchment paper.
- You can optionally cut slits in the top to allow for better expansion during baking.
Baking in the Dutch Oven
- Preheat your oven to 450°F with the Dutch Oven inside.
- Carefully transfer your dough using the parchment paper into the hot Dutch Oven, cover, and bake for 35 minutes.
Baking Tips for a Flawless Finish
While the steps are simple, there are a few tips that can elevate your bread game:
- Patience is Key: Allow the loaf to cool for at least 10 minutes; ideally, an hour before slicing helps avoid a gummy texture.
- Flour Management: When dusting flour, be careful not to overdo it on the outside, as this can create a less desirable crust.
- Heat Control: For softer crusts on the bottom, consider placing a baking sheet on the lower rack.
Storing and Enjoying Your Bread
Once your loaf is baked and cooled, you can enjoy it fresh or store it for later.
- Room Temperature: The bread can be kept in a bread bag or wrapped in a kitchen towel.
- Freezing: For longer storage, slice the bread and freeze it in a zip-top bag. It thaws beautifully for later use.
A Note on Troubleshooting Your Dough
If your dough doesn't rise as expected, it may be due to the yeast. Fresh yeast is essential for success; a dead batch won't work. Always check the expiration date or do a simple test by mixing yeast with warm water and a bit of sugar. If it foams, you’re good to go!
Discover More Baking Adventures
The magic of baking extends far beyond Dutch Oven No Knead Bread. Explore other delicious baking options that can easily fit into your weeknight routine. Check out resources like America's Test Kitchen for ingenious recipes and tips to expand your kitchen prowess.
In wrapping up, making Dutch Oven No Knead Bread is not just about the bread; it's about the experience of baking that warms your heart and home. With this outline, you’re all set to create a mouthwatering loaf that will have everyone coming back for seconds. Enjoy your baking journey!
Introduction to Dutch Oven No Knead Bread
The Joy of Homemade Bread
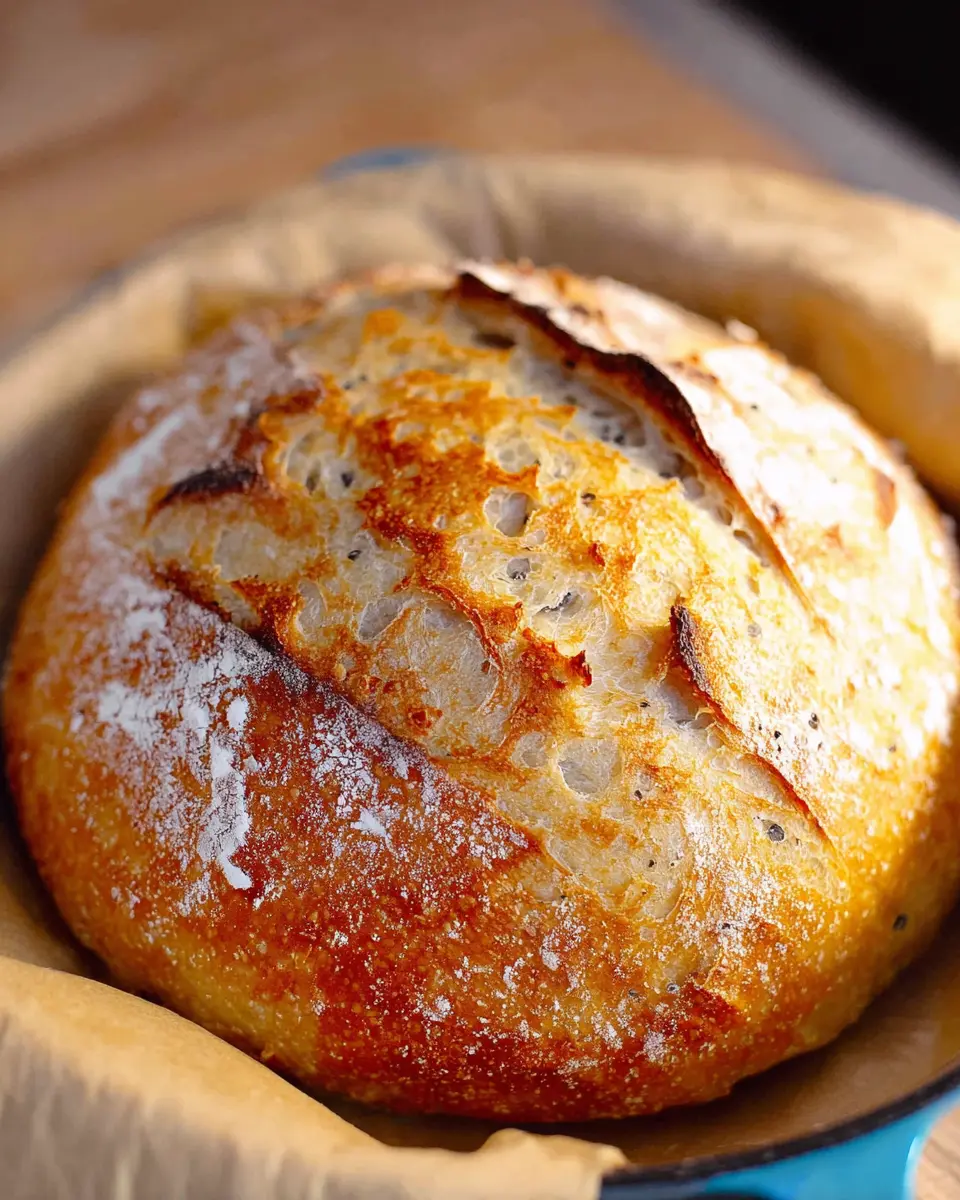
There’s something truly magical about homemade bread. The enticing smell wafting through your kitchen is more than just a sensory delight; it creates a cozy atmosphere that instantly makes a space feel like home. Baking Dutch Oven No Knead Bread is an incredibly rewarding experience, especially when you pull a perfectly crusty loaf from the oven. You’ll be thrilled by the crunchy exterior and the soft, airy inside. Plus, making your own bread allows you to control the ingredients, resulting in a wholesome treat that’s not only delicious but also free from additives.
Why No Knead Bread is Perfect for Busy Young Professionals
For busy young professionals navigating the hustle and bustle of life, no knead bread is a game-changer. With only five minutes of prep and a rising time of about 2 hours, this recipe fits perfectly into a hectic schedule. You can start your dough while working from home or enjoying a weekend activity. The best part? There’s no intensive kneading involved, so you can say goodbye to sore arms or messy kitchens!
This means you can enjoy the pleasures of baking even with a packed agenda. So why not impress your friends or simply treat yourself to a slice of warm, homemade bread? It’s the perfect way to unwind and savor your culinary efforts.
For detailed recipes and tips, check out King Arthur Baking.
Ingredients for Dutch Oven No Knead Bread
Essential ingredients for successful no knead bread
To whip up a loaf of Dutch Oven No Knead Bread, you'll need a few key ingredients that work in harmony to create that perfect crusty finish. Here’s what you must have:
- Warm Water: 1 ½ cups (around 100°F) to activate the yeast.
- Yeast: 1 packet of active dry, instant, or quick-rise (about 2.25 teaspoons).
- Fine Grain Salt: 1 ½ teaspoons, preferably non-iodized. If you enjoy a saltier bread, feel free to increase this to 2 teaspoons.
- All-Purpose Flour: 3 ¼ cups, or bread flour if you prefer. You'll want extra for dusting and achieving the right dough consistency.
These simple ingredients are the backbone of your Dutch Oven No Knead Bread. Make sure they’re fresh for the best results!
Optional ingredients to enhance flavor
Once you've mastered the basics, consider jazzing up your dough! Here are some optional ingredients that can take your bread to the next level:
- Herbs: Dried rosemary, thyme, or oregano can add a fragrant touch.
- Garlic: Roasted garlic or garlic powder gives your bread a savory depth.
- Cheese: Add grated parmesan or sharp cheddar for a cheesy delight.
- Seeds: Sunflower or sesame seeds not only add flavor but also a delightful crunch.
Mix and match based on what you love or what you have at home. The beauty of this recipe is that it’s super adaptable!
Step-by-Step Preparation of Dutch Oven No Knead Bread
Making your own artisan bread might seem daunting, but with this Dutch Oven No Knead Bread recipe, you'll have a beautifully crusty loaf in under three hours with just five minutes of prep. Let's walk through the process together!
Gather Your Equipment and Ingredients
Before diving into bread-making, it’s essential to gather everything you'll need. Here’s a quick checklist:
-
Equipment:
-
Dutch Oven
-
Silicone Spatula
-
Parchment Paper
-
Meat Thermometer
-
Ingredients:
-
1 ½ cups warm water (around 100°F)
-
1 packet (2.25 teaspoons) yeast
-
1 ½ teaspoons fine grain salt
-
3 ¼ cups all-purpose flour (plus more for dusting)
Having everything ready creates a smooth workflow and makes the whole process more enjoyable.
Mix the Ingredients to Create Your Dough
In a large bowl or container, mix together the warm water, yeast, and salt until fully dissolved. A whisk works wonders here! Next, add your flour all at once and stir until it forms a sticky dough. Don’t fret if it's messy; that’s part of the charm. If your dough is too wet or dry, feel free to adjust with flour or water, just a tablespoon at a time.
Allow the Dough to Rise
After mixing, cover the bowl with a kitchen towel and let it rise in a warm place for about two to three hours. You want the dough to double in size. A tip? If it's chilly in your kitchen, preheating your oven for a few minutes, then turning it off and placing the dough inside can create a perfect environment for rising.
Bake the Bread in the Preheated Dutch Oven
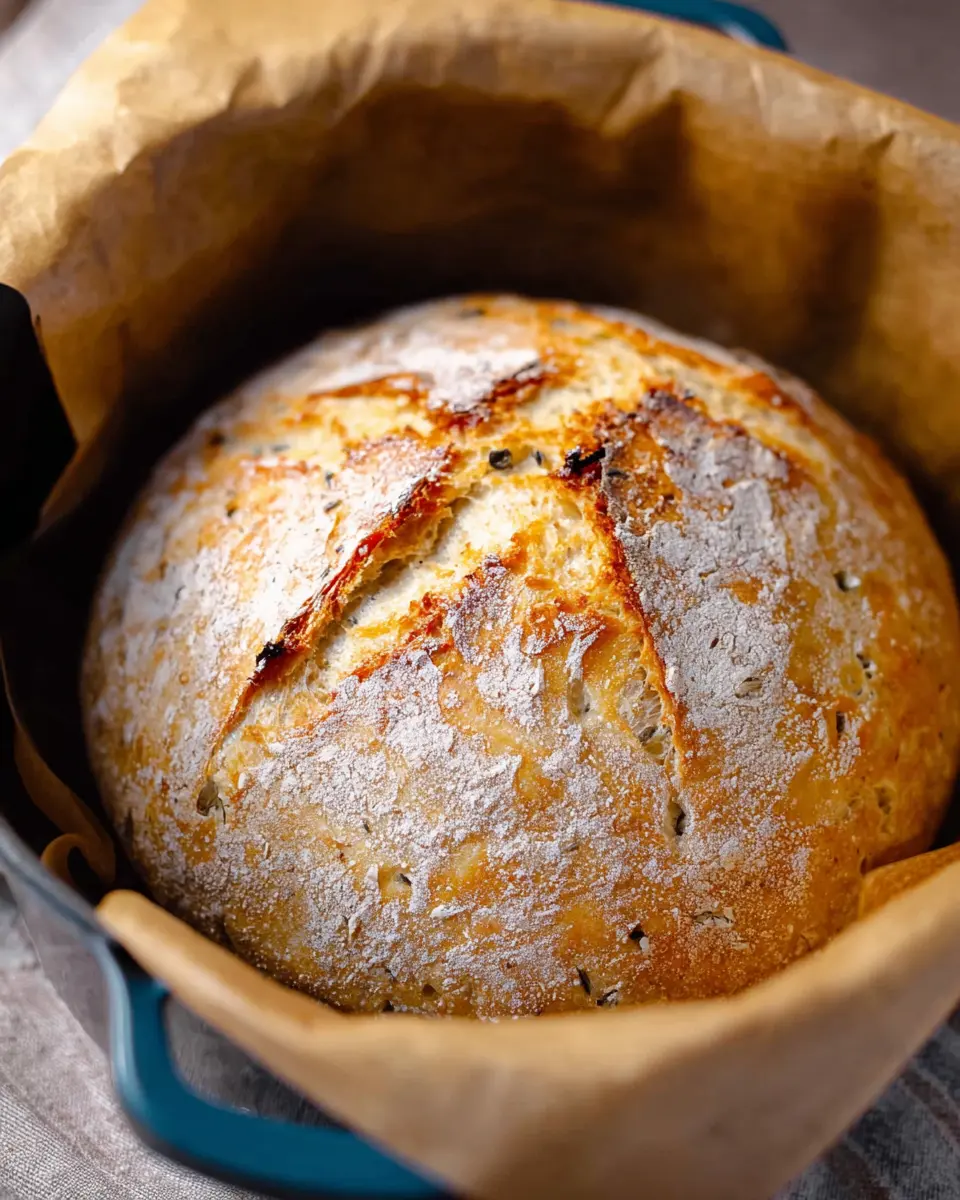
Once the dough has risen, it’s time for the fun part! About 30-60 minutes before you're ready to bake, preheat your oven to 450°F, placing the Dutch oven (with the lid on) inside to heat up. Shape your dough into a loaf using parchment paper, and don't worry about appearances. Transfer the loaf to the hot Dutch oven, cover it, and bake for about 35 minutes. It's perfectly normal to feel a rush of excitement as the aroma fills your home!
Cool and Enjoy Before Slicing
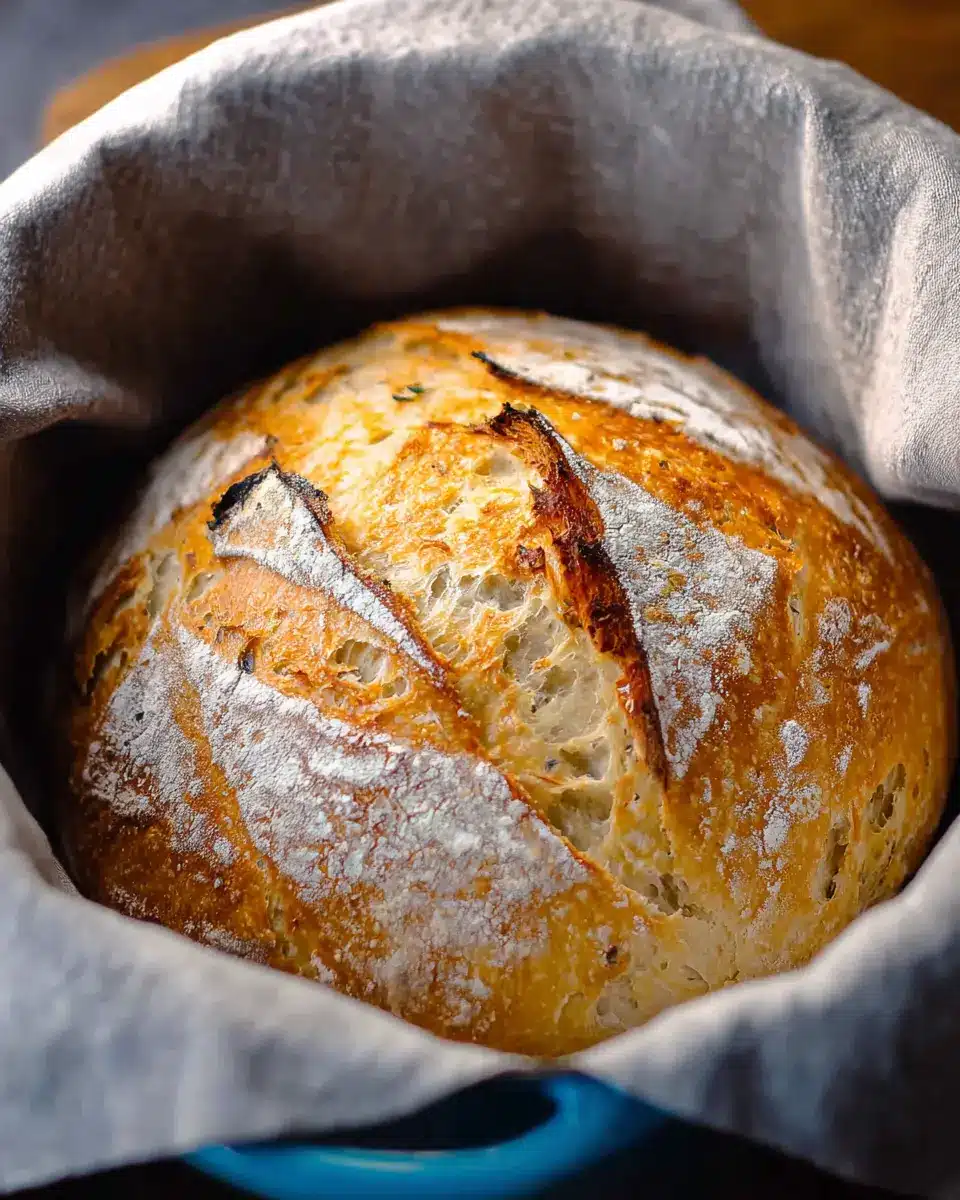
After baking, carefully remove the loaf using the parchment paper and let it cool on a wire rack or cutting board for at least 10 minutes (preferably 30). Slicing too soon can lead to a gummy center, so patience here pays off! Enjoy your fresh Dutch Oven No Knead Bread as is, or pair it with your favorite spread—perhaps some butter or even Turkey Bacon on the side for a delightful twist.
And there you have it! A step-by-step guide to mastering no-knead bread, perfect for young professionals who crave a bit of culinary confidence. Enjoy the process, and happy baking!
Variations on Dutch Oven No Knead Bread
Adding herbs and spices for extra flavor
One of the best aspects of Dutch Oven No Knead Bread is its versatility! Elevate your loaf by mixing in fresh herbs like rosemary or thyme, or adding garlic powder and onion flakes for an aromatic twist. Consider sprinkling in some crushed red pepper for a hint of heat. The beauty of bread-making is that you can customize it to match your mood or meal. Don’t hesitate to experiment with the ratios, as even a little addition can make a big impact on flavor.
Experimenting with cheese and other ingredients
Cheese lovers will rejoice! Mix in some shredded cheddar or chunks of feta for a deliciously cheesy bite. Want to go more gourmet? Fold in sun-dried tomatoes or roasted garlic for a taste of Mediterranean flair. You can even add nuts or seeds, like walnuts or sunflower seeds, for added texture and nutrition. The sky’s the limit, and these tweaks not only enhance flavor but also allow you to create a new signature Dutch Oven No Knead Bread each time!
Cooking Tips and Notes for Dutch Oven No Knead Bread
Adjusting for Texture and Moisture
Achieving the perfect texture with your Dutch Oven No Knead Bread is all about balance. If your dough seems too wet, add 1-2 tablespoons of flour until it reaches a sticky but manageable consistency. Conversely, if it feels dry and crumbly, incorporate a splash of warm water. Remember, different flours can behave uniquely, so don’t hesitate to tweak the water-to-flour ratio based on your observations.
Troubleshooting Dough Rising Issues
If your dough isn’t rising, check your yeast. Old or improperly stored yeast can lose its effectiveness—either buy fresh or perform a simple test: dissolve 2.25 teaspoons in warm water with a pinch of sugar. If it becomes foamy in 5-10 minutes, you're good to go! Additionally, ensure the water temperature is around 100-110°F; too hot, and it could kill the yeast.
For more helpful tips, consider checking out resources from King Arthur Baking or The Spruce Eats for expert baking advice!
Serving Suggestions for Dutch Oven No Knead Bread
Pairing with Dips and Spreads
Dutch Oven No Knead Bread is versatile and pairs beautifully with a variety of dips and spreads. Try serving it alongside:
- Garlic herb butter: Melted butter mixed with fresh herbs adds a rich flavor.
- Hummus: Creamy, chickpea-based goodness that elevates your bread.
- Bruschetta: A fresh tomato topping for a burst of flavor that balances the bread’s crustiness.
- Creamy spinach artichoke dip: Ideal for a cozy night in.
Each of these will enhance your enjoyment of that crusty loaf!
Using Bread for Sandwiches and Toasts
Don’t stop at dipping! Slice your Dutch Oven No Knead Bread to create the perfect sandwich base. Consider options like:
- Turkey bacon and avocado: A wholesome, delicious combination for lunch.
- Chicken ham and cheese: Melty, savory goodness that’s perfect for a quick meal.
- Vegetable and cheese toasts: Top with roasted veggies or your choice of cheese for a quick snack.
Incorporating the bread into meals makes it an everyday staple in your kitchen!
Time Breakdown for Dutch Oven No Knead Bread
When making your delicious Dutch Oven No Knead Bread, understanding the timing can help streamline your baking process. Here’s a quick breakdown:
Preparation Time
With just 5 minutes of hands-on time, you can whip up the dough without any kneading.
Rising Time
Patience is key here! Let your dough rise for about 2 hours until it doubles in size, which enhances the flavor and texture.
Baking Time
Once your dough has risen, it’ll take around 40 minutes in a hot Dutch oven to achieve that perfect crust.
Total Time
All in all, you’re looking at a total of 2 hours and 45 minutes from start to finish, including rising and baking. A little time well spent for homemade artisan bread!
This short time commitment leads to a delightful reward — the aroma of freshly baked bread filling your home! For more tips on achieving that perfect loaf, check out this expert guide on bread making from Serious Eats. Happy baking!
Nutritional Facts for Dutch Oven No Knead Bread
Calories and Nutritional Benefits
A serving of Dutch Oven No Knead Bread packs around 188 calories, making it a wholesome choice for your meals. This artisan bread is not only satisfying but also relatively low in fat, with less than 1g of total fat. Plus, the bread is a great source of carbohydrates, which are essential for energy throughout your day.
Key Vitamins and Minerals
Your slice of this bread offers vital nutrients, including:
- Protein: Approximately 6g, helping with muscle repair and growth.
- Sodium: About 437mg, vital for fluid balance but be mindful of your intake based on dietary needs.
- Potassium: At 63mg, it supports heart health and muscle function.
- Iron: Each serving contributes 2mg, crucial for oxygen transport in the body.
Incorporate this Dutch Oven No Knead Bread into your meals, and enjoy the benefits of homemade goodness that nourishes your body! For more detailed nutritional insights, check out the USDA Nutrient Database.
FAQs about Dutch Oven No Knead Bread
How can I make my bread crustier?
To elevate the crustiness of your Dutch Oven No Knead Bread, consider a few techniques. First, ensure the Dutch oven is preheated thoroughly; this step is crucial for achieving that golden crust. You can also spritz the loaf with water just before baking and place a pan of water in the oven to boost steam during the baking process. Lastly, baking a little longer with the lid off can also help create that perfect crust texture.
Can I use whole wheat flour instead of all-purpose flour?
Absolutely! You can substitute whole wheat flour for all-purpose flour, but keep in mind that it might create a denser loaf. Mixing 50% whole wheat flour with the all-purpose flour can strike a great balance, keeping the bread light while reaping the nutritional benefits of whole grains.
How do I store leftover bread?
Storing leftover Dutch Oven No Knead Bread is easy! Wrap it in a clean kitchen towel or store it in an airtight container at room temperature for up to three days. For longer storage, slice the bread and place it in a zip-top bag in the freezer. This way, you can enjoy fresh bread even after a week!
Conclusion on Dutch Oven No Knead Bread
The satisfaction of making bread at home
There's something truly rewarding about baking your own bread. The aroma fills your home, and the sound of a crusty loaf crackling as you slice it is nothing short of satisfying. With this Dutch Oven No Knead Bread, you can easily achieve that pleasure without the fuss.
Encouragement to try this simple recipe
If you haven’t tried making bread yet, now is the perfect time! This Dutch Oven No Knead Bread recipe is the ideal starting point. With minimal effort and just a few simple ingredients, you’ll be treating yourself to delicious, homemade bread in no time. Trust me, once you experience the joy of baking, you’ll want to do it again and again!
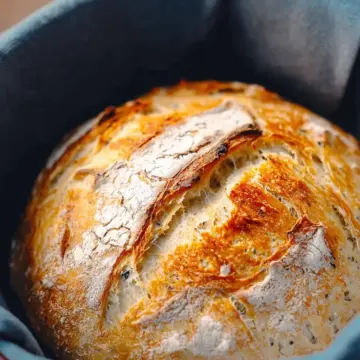
Dutch Oven No Knead Bread
Equipment
- Dutch oven
- silicone spatula
- parchment paper
- meat thermometer
Ingredients
- 1.5 cups warm water (about 100 degrees F)
- 1 packet yeast (active dry, instant, or quick rise - 2.25 teaspoons)
- 1.5 teaspoons fine grain salt (preferably NOT iodized)
- 3.25 cups all-purpose flour (or bread flour, more if needed to get correct consistency)
Instructions
- In a large bowl (or container), mix together the warm water, yeast, and fine grain salt until yeast and salt are fully or almost dissolved.
- Add the all-purpose flour to the bowl all at once and stir together until a sticky dough forms.
- Cover the bowl with a kitchen towel and leave it for 2-3 hours to rise in a warm place until it's doubled in volume.
- Preheat your oven to 450 degrees F and place your Dutch oven in it, with the lid ON.
- Scrape the dough onto a piece of parchment paper dusted with flour and shape it into a loaf.
- Flip the loaf over so the floured side is on top and the loaf is in the center of the parchment paper.
- Optional: use a very sharp knife to cut a few slits across the top of the loaf about ½" deep.
- Remove the preheated Dutch oven and carefully place the loaf in it using the parchment paper.
- Cover and bake for 35-40 minutes, then remove the lid and bake for another 5-10 minutes until golden brown.
- Remove the loaf from the Dutch oven and let it cool for at least 10 minutes before slicing.


Leave a Reply