
Introduction to Perfect Dumpling Dough
Creating your own perfect dumpling dough opens up a world of culinary possibilities and elevates your home-cooked meals. While store-bought wrappers can be convenient, homemade dough offers a fresher taste and can be customized to suit your preferences. Whether you’re looking to whip up potstickers, dumplings, or other delightful creations, a simple process will empower you to become your own dumpling master.
Why Homemade Dumpling Dough is a Game-Changer?
Opting for homemade dumpling dough allows you to control the ingredients and texture. When you make your own dough, you can experiment with different types of flour for unique flavors and consistencies. For instance, a blend of cake flour and all-purpose flour can create a tender yet sturdy wrapper. The satisfaction that comes from shaping your own dumplings is unrivaled; not only does it enhance the eating experience, but it also allows for creative fillings that can accommodate any dietary preference.
Additionally, making your own dough is often more economical, allowing you to serve a larger gathering without breaking the bank. The process might seem daunting at first, but with patience and a little practice, you’ll soon find it incredibly rewarding. Plus, it’s a fantastic way to reconnect with friends and family through cooking!
For expert tips and detailed instructions, be sure to check out resources like Serious Eats and The Kitchn to enhance your dough-making journey.
Ingredients for Perfect Dumpling Dough
When it comes to crafting perfect dumpling dough, the right ingredients are key. Here’s what you’ll need for a successful start:
-
Flour: The backbone of your dough is 300 grams of all-purpose flour, or you can mix 50% cake flour with 50% all-purpose for a lighter texture. Flour acts like a sponge, absorbing moisture and creating that satisfying bite.
-
Water: Aim for 175-200 ml of boiling water, which helps activate gluten, giving your dough that desired elasticity. Keep in mind that adjusted water temperature will affect the finished product: opt for room temperature water if boiling your dumplings.
-
Salt: Just ¾ teaspoon will enhance flavor and strengthen your dough’s structure, preventing it from becoming overly soft.
-
Extra Flour for Dusting: This may seem minor, but using additional flour will prevent your dough from sticking as you roll it out.
For more tips on selecting quality flour, consider checking cooking resources like King Arthur Baking Company. Ready to roll? Let’s get those dumplings on the table!
Preparing Perfect Dumpling Dough
When it comes to making delightful dumplings, the foundation lies in the dough. Perfect dumpling dough is essential for crafting wrappers that hold delicious fillings. Don’t worry if you're new to this; the process is straightforward, and I'm here to guide you through each step with ease!
Mixing the Flour and Salt
Start by combining 300 grams of all-purpose flour (or a mix of 50% all-purpose and 50% cake flour) with ¾ teaspoon of salt in a large mixing bowl. This step is vital because salt enhances the flavor of your dumpling wrappers. Mix them thoroughly to ensure an even distribution. Creating a well in the center of your flour mixture is important—it’s where the magic begins!
Adding the Boiling Water
Next, it's time for the water! You'll need 175 to 200 ml of boiling water. Slowly pour about 130 ml into the well while mixing with chopsticks, a fork, or even your fingers. It’s all about creating those clumpy bits of dough. Gradually incorporate the remaining water, mixing until you achieve a clumpy, somewhat shaggy dough. At this stage, it may look messy, but that’s perfectly normal!
Kneading for the Right Consistency
Once your dough has clumped together, transfer it to a lightly floured surface and knead it for 5 to 10 minutes. You're aiming for that quintessential soft and supple texture—think of earlobe softness. If the dough feels overly sticky, don't hesitate to dust in a little extra flour as needed. Rest is crucial here; divide the dough into four portions, wrap them in plastic, and let them rest for at least 30 minutes to allow the gluten to relax.
Resting the Dough
Resting is underrated but essential for achieving that perfect dumpling dough. Letting the dough sit for about an hour will hydrate the flour fully, making it easier to work with later. This step ensures that your wrappers will stretch and fold nicely without tearing while you’re filling them with all kinds of delectable goodness.
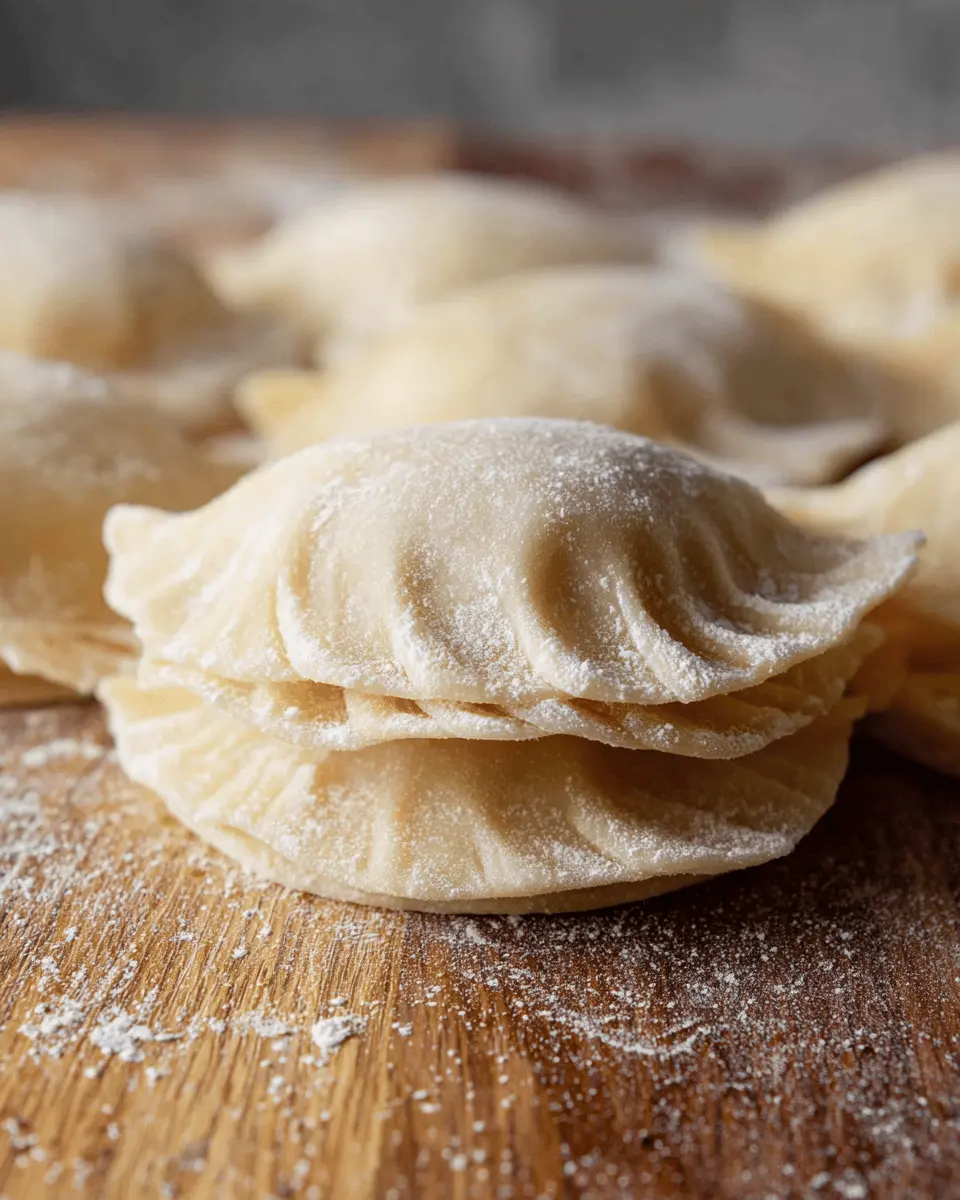
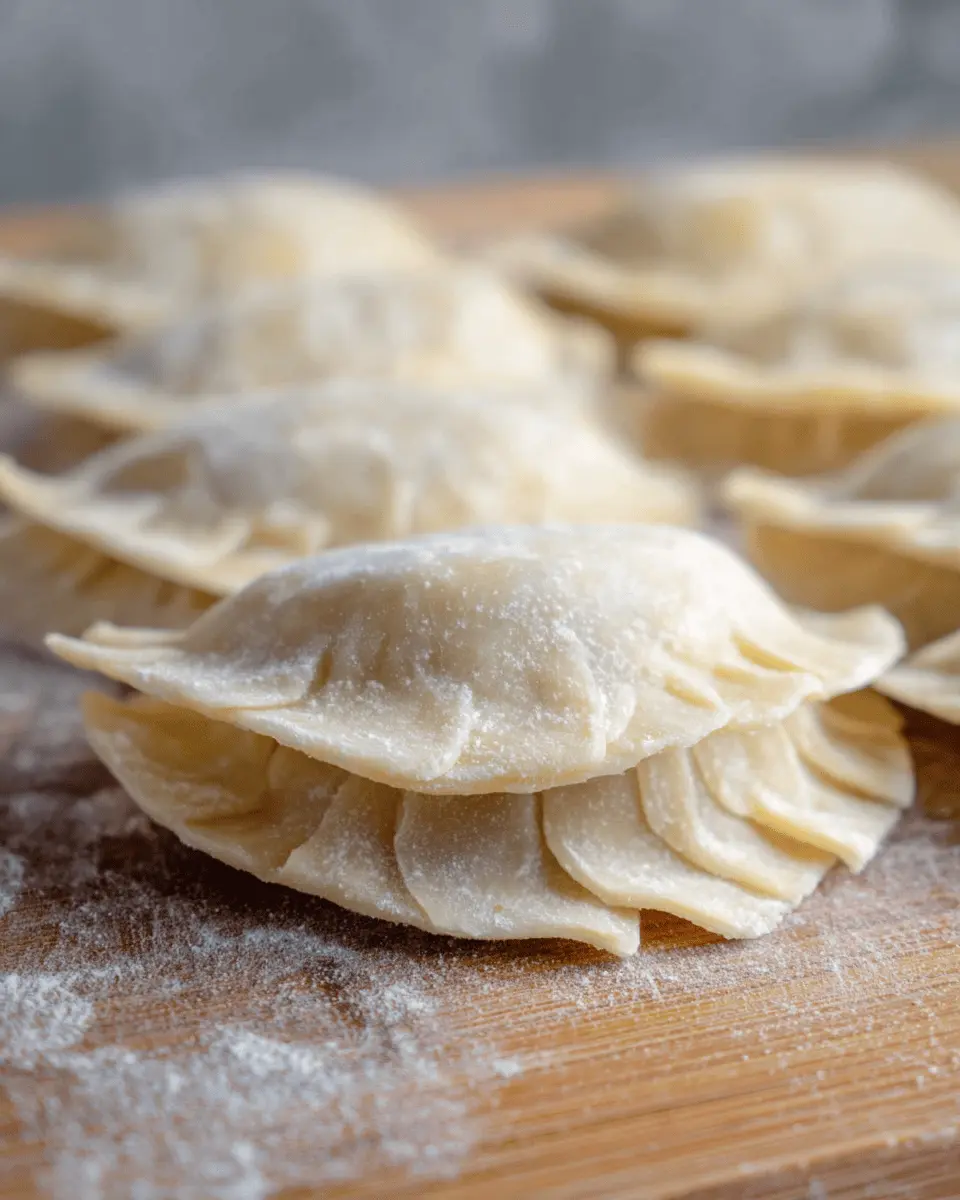
Making Dumpling Wrappers
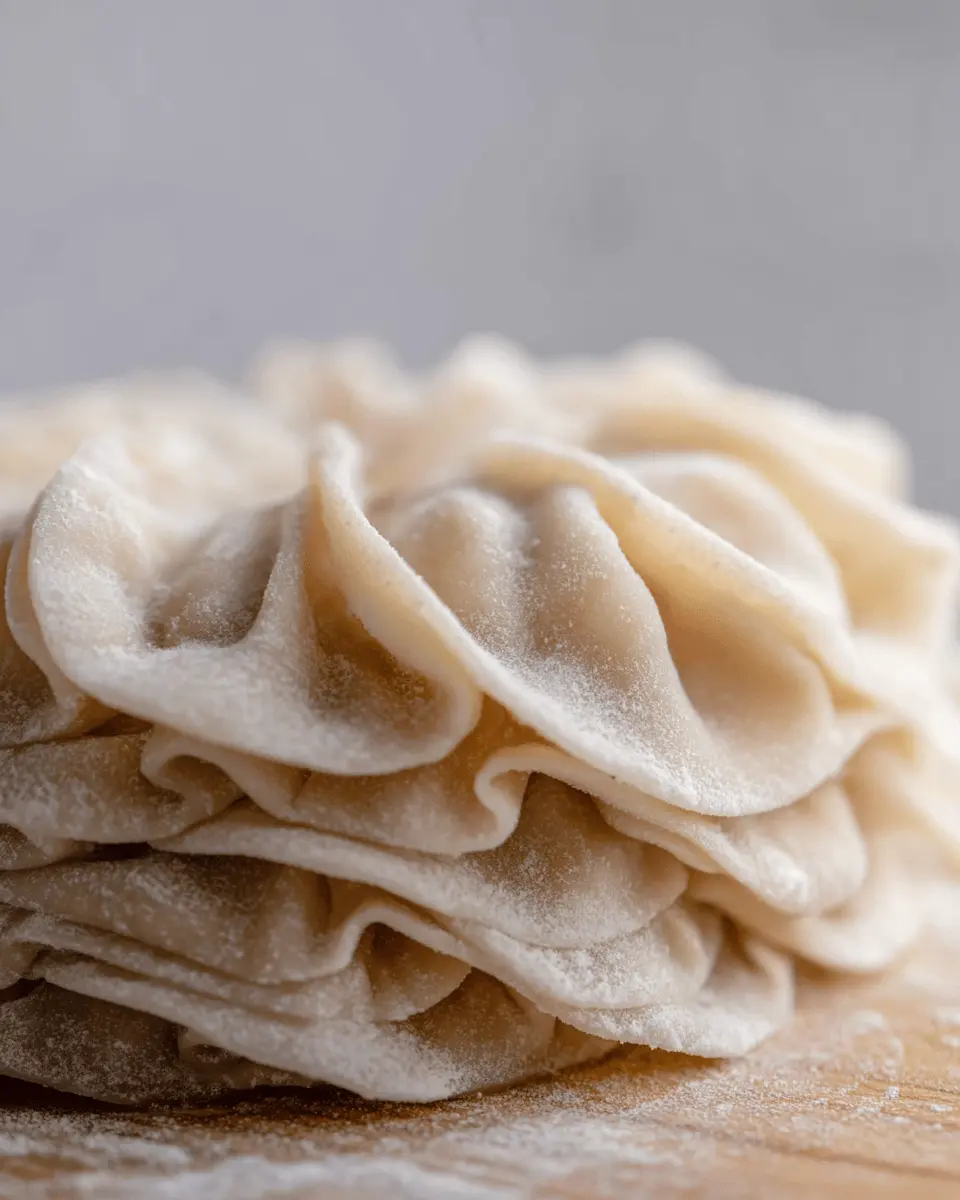
Now comes the fun part—making the wrappers! You can roll out each portion of dough to about 2.5 to 3 inches in diameter. If you're feeling adventurous, try using a pasta machine for an even thickness. Dust each wrapper lightly with flour to prevent sticking, and keep them covered until you're ready to use them. Remember to stagger the wrappers rather than stacking them, as this helps avoid a sticky mess.
There you have it! With these steps, you're well on your way to crafting perfect dumpling dough. For more tips on dumpling fillings and cooking techniques, consider checking out resources like Serious Eats, which offers valuable insights on Asian cooking. Happy dumpling-making!
Variations in Dumpling Wrappers
Thicker wrappers for boiling dumplings
If you love making boiled dumplings, consider using thicker wrappers. Thicker dough holds up beautifully during cooking, ensuring you enjoy a delicious, tender bite. To achieve this robust texture, simply replace boiling water with room temperature water when preparing your perfect dumpling dough. The result is a sturdy wrapper that resists tearing, perfect for containing your favorite fillings.
Gluten-free dumpling dough options
For those needing a gluten-free option, don't worry—there are alternatives! You can explore using rice flour or gluten-free all-purpose flour blends. Many of these options are available at local grocery stores. Keep in mind that the texture may vary, so experimenting with different ratios can help you find the perfect balance. For tips on creating gluten-free dumplings that still taste fantastic, check out resources like Serious Eats.
With these variations in mind, you’ll be well on your way to mastering the art of dumpling making!
Cooking Tips for Perfect Dumpling Dough
Creating perfect dumpling dough is a rewarding process, but it can be a bit tricky for beginners. Here are some tips to help you succeed:
-
Choose the Right Flour: Use all-purpose flour or a mix of cake flour and all-purpose for a softer texture. Check your flour’s protein content; higher protein usually leads to tougher dough.
-
Control Your Water Temperature: For most dumpling wrappers, boiling water helps achieve a soft and pliable dough. For boiled dumplings, room-temperature water is preferred.
-
Add Water Gradually: Dough consistency varies; add water slowly and mix until you achieve a soft, supple texture. Remember, it’s easier to add water than to take it back.
Need more tips? You can check out comprehensive guides at The Flavor Bender. Happy cooking!
Serving Suggestions for Homemade Dumplings
With your perfect dumpling dough ready, it's time to explore creative ways to enjoy your delicious creations. Consider these serving suggestions that elevate your dumpling experience:
-
Classic Dipping Sauces: Serve your dumplings with soy sauce, vinegar, and a splash of sesame oil for a traditional touch. Consider adding chopped garlic or chili for an extra kick.
-
Savory Soups: Drop boiled dumplings into a flavorful broth, like a classic chicken or vegetable soup. This not only makes for a hearty meal but also allows the dumplings to soak up the delicious flavors.
-
Vegetable Pairing: Sauté seasonal vegetables such as bok choy, snap peas, or mushrooms in a bit of olive oil and garlic. This adds a healthy crunch and vibrant colors to your plate.
These simple yet delicious options will elevate your homemade dumplings to a new level, making them perfect for any occasion! For more ideas, check out Serious Eats or Food52.
Time Breakdown for Perfect Dumpling Dough
When you’re ready to make perfect dumpling dough, it's essential to allocate your time wisely. Here’s a quick guide to help you plan your cooking adventure:
Preparation Time
Allow about 2 hours for the entire process, which includes mixing the dough and kneading to achieve that ideal, soft texture.
Resting Time
After preparation, let the dough rest for 1 hour and 30 minutes. This step is crucial for developing the right elasticity and prevent it from being overly tough.
Total Time
In total, you’re looking at around 3 hours and 32 minutes from start to finish, ensuring your dumpling dough is perfectly ready for shaping and filling.
With this timing in mind, you'll be all set to create delicious dumplings! For more tips on making these delightful bites, check out Serious Eats for expert insights.
Nutritional Facts for Dumpling Wrappers
Understanding the nutritional content of your ingredients is essential, especially when crafting the perfect dumpling dough. Below are the nutritional facts for a single dumpling wrapper:
Calories
Each dumpling wrapper contains approximately 34 calories. This makes it a light option as you prepare your delightful dumplings.
Protein
You can expect around 1 gram of protein per wrapper. While not a high-protein food, it's a tasty base for your favorite fillings, which can boost the overall protein content.
Sodium
With 55 mg of sodium, the wrappers are a relatively low-sodium choice. If you're watching your sodium intake, this is a great option to include in your meals.
For more comprehensive dietary information, consider checking resources like the USDA FoodData Central, which provides detailed nutritional analyses. Keeping these nutritional facts in mind will help you enjoy your dumplings while staying aligned with your dietary goals!
FAQs about Perfect Dumpling Dough
How do I know if my dough is right?
To determine if you have created perfect dumpling dough, look for a texture that's soft, pliable, and slightly tacky—but not sticky. It should hold its shape when you press it without falling apart. A good test is to knead it until it feels supple, akin to the softness of your earlobe. If it's too dry, just add a splash of water; if wet, sprinkle in a little flour.
Can I make the dough ahead of time?
Absolutely! You can prepare your perfect dumpling dough a day in advance. Just wrap it tightly in plastic and store it in the refrigerator. For best results, remember to let it return to room temperature before you start rolling it out.
What can I fill my dumplings with?
When it comes to filling your dumplings, the possibilities are endless! Go for classic options like ground beef and vegetables, or get creative with combinations like chicken ham and mushrooms or even a vegetarian mix of tofu and bok choy. Don’t hesitate to experiment and find your favorite!
For further tips on fillings, check out this article for inspiration!
Conclusion on Perfect Dumpling Dough
Mastering perfect dumpling dough opens a world of culinary creativity and cultural appreciation. With a little patience and practice, your homemade dumplings will not only impress your guests but also warm your heart. Enjoy the journey, and don’t hesitate to experiment with different fillings! Safe cooking!
Perfect Dumpling Dough (For Beginners)
Equipment
- mixing bowl
- chopsticks or fork
- Plastic Wrap
- ziploc bags
- pasta machine
- Rolling Pin
- Food Processor
- Stand Mixer
Ingredients
Dumpling Dough Ingredients
- 300 g all purpose flour or a mix of 50% cake flour and 50% AP flour
- 175 - 200 ml boiling water see recipe notes - use room temperature water if you're making boiled dumplings
- ¾ teaspoon salt
- as needed extra flour for dusting
Instructions
By hand
- In a bowl, mix the flour and salt together.
- Create a well in the middle (like you would when making pasta).
- Slowly add about 130 ml of the hot water, while mixing with chopsticks or a fork until the flour forms clumpy bits.
- Add up to 70 mL of the rest of the hot water (or room temperature water, if using), while mixing, to form a clumpy dough.
- Gently mix the dough by hand to bring it together to form a scraggly dough, with no dry spots.
- Cover the bowl with plastic wrap and let it rest for 20 - 30 minutes.
- Knead the dough for a few minutes until it looks smooth and feels supple (ear lobe soft).
- Roughly separate the dough into 4 portions, and wrap them in plastic wrap.
- Let the dough rest for at least 30 minutes at room temperature.
By stand mixer
- Place the flour and salt in the bowl of your mixer.
- Stream in the 130 ml of hot water, while running the mixer on low.
- Replace the mixer attachment with the kneading attachment.
- Add the rest of the hot water while kneading the dough.
- Knead the dough until you have a soft, supple, smooth dough.
- Portion the dough into 4, and wrap each portion in plastic wrap.
- Let the dough rest for at least 30 minutes.
By food processor
- Process the flour and salt for a few seconds to mix.
- In a steady stream, pour about 130 mL of the hot water while the processor is running.
- Add the rest of the water until the mix starts to resemble very coarse crumbs.
- Turn the dough out onto a lightly floured surface.
- Using your hands, bring the flour clumps together to form a soft but firm ball of dough.
- Knead the dough further on your work surface for a few minutes.
- Divide the dough into 4, and wrap each portion in plastic wrap.
- Let the dough rest for at least 30 minutes.
Making the dumpling wrappers
- If you're using the dough the following day instead, place it in the fridge (sealed in plastic bags).
- Lightly dust your work surface and rolling pin with flour.
- Take one portion of dough, and roll it out into a tube that's about 1 ½ inches in diameter.
- Cut the tube into 8 or 9 equal portions.
- Place one portion of the dough on a lightly floured surface, with the cut side down.
- Press down on the dough to flatten it slightly.
- Using a small rolling pin, roll out the dough into a circle that is about 2.5 - 3 inches in diameter.
- Rotate and roll out the edge of the dumpling wrapper with your hand.
- You should end up with a dumpling wrapper that is about 4 inches in diameter.
- Store the dumpling wrappers on a lightly floured work surface.

Leave a Reply