
Introduction to Artisan Pizza Dough
Why Artisan Pizza Dough is a Game-Changer for Homemade Pizza?
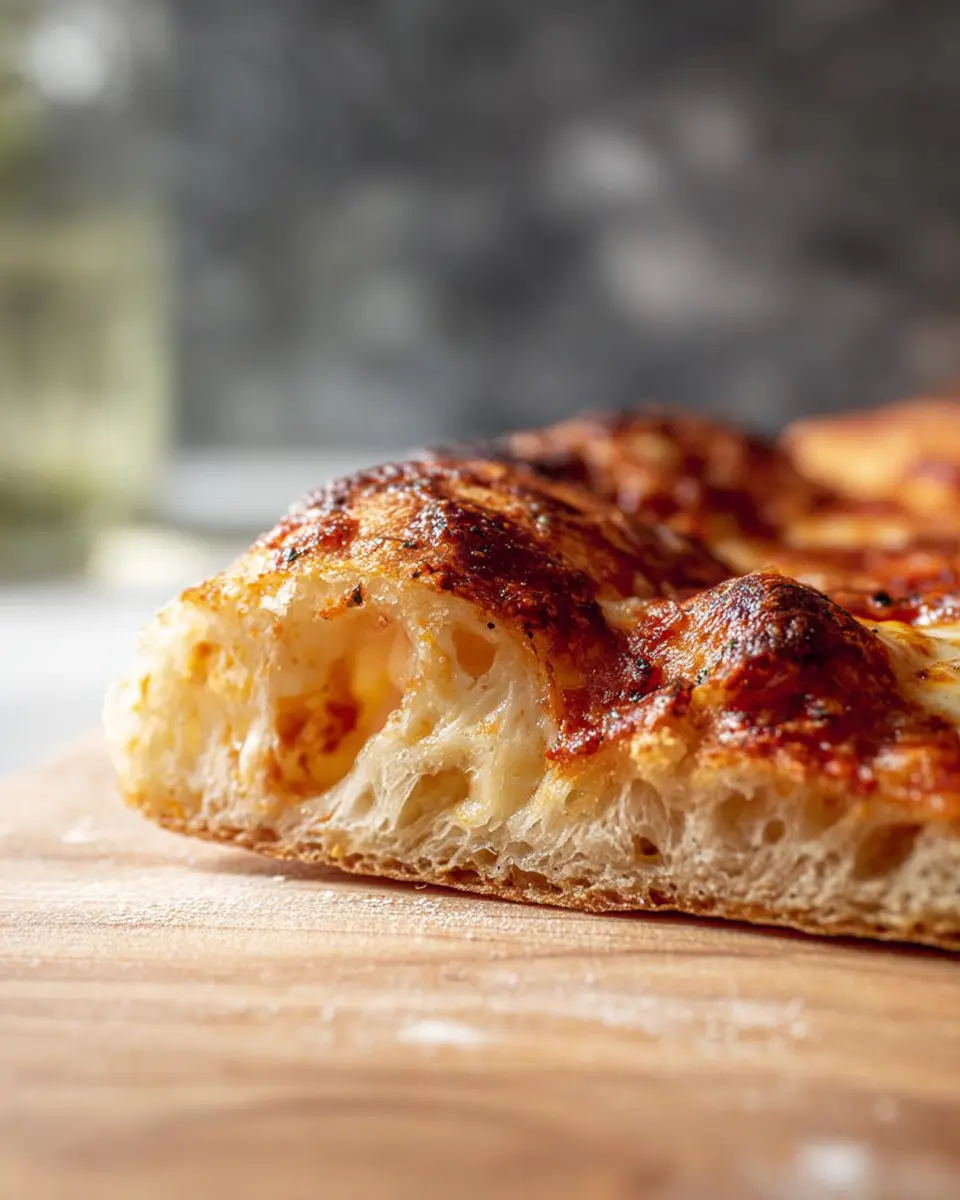
If you've ever been disappointed by a soggy or bland pizza crust, you'll want to pay attention to artisanal pizza dough. This method transforms a common meal into a gourmet experience right in your kitchen. The secret lies in the high hydration content and longer fermentation time, which work together to create a wonderfully chewy, crispy crust that’s loaded with flavor.
Imagine biting into a slice with a golden brown, blistered exterior, revealing a soft, airy interior speckled with bubbles. That’s no accident! According to Ken Forkish, a renowned authority on artisan baking, the key to superior dough is in the details—mixing, resting, and folding techniques can elevate your pizza game significantly.
Plus, making artisan pizza dough allows you to express your creativity. Choose from a variety of toppings, from fresh vegetables to turkey bacon or chicken ham, and enjoy customizing pizzas to suit your taste. Whether you're enjoying a cozy night in or hosting friends for game day, this dough will surely impress. So roll up your sleeves, and let’s get started!
For more techniques and insights into perfecting your dough, check out King Arthur Baking for helpful tips.
Ingredients for Artisan Pizza Dough
Essential Ingredients for the Perfect Dough
Creating the ideal artisan pizza dough starts with a few key ingredients. Here’s what you’ll need:
- All-Purpose Flour: 500g (about 3 ¾ cups plus 2 tbsp) for a balanced structure and chew.
- Warm Water: 375g (1 ½ cups plus 2 tbsp) to hydrate the flour, promoting gluten development.
- Active Dry Yeast: Just 1g (¼ tsp) to initiate fermentation, providing flavor and texture.
- Fine Salt: 10g (1 ½ tsp) enhances the taste while controlling yeast activity.
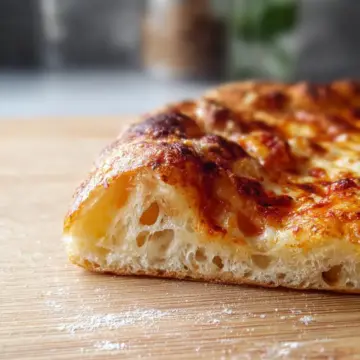
These ingredients work together to create that crispy, chewy, bubbly crust you’re dreaming of!
Substitutes and Variations for the Ingredients
Don’t have everything on hand? No worries! Here are some substitutes you can use:
- Flour: Swap with bread flour for a chewier texture or whole wheat flour for a nuttier flavor. Just remember, this may alter the hydration level.
- Yeast: Instant yeast can replace active dry yeast 1:1 without dissolving it first.
- Water: If you prefer, substitute with filtered water for a cleaner taste.
Feel free to experiment—who knows, your unique touch might just lead to the perfect artisan pizza dough! For more inspiration, check out Serious Eats for a deep dive into pizza-making science.
Step-by-step preparation of Artisan Pizza Dough
Crafting your own artisan pizza dough is not just about making a base; it’s about creating a canvas for culinary expressions. With this guide, you'll effortlessly prepare a dough that boasts a crispy, chewy, and bubbly crust. Let’s get started!
Combine flour and water for the initial mix
In a spacious mixing bowl, combine 500g of all-purpose flour with 375g of warm water, reserving 1 tablespoon of water for later. Mix until the ingredients just come together—no need for an electric mixer here; your hands will do just fine! Cover the bowl with a kitchen towel and let it rest for about 20 minutes. This resting period is crucial, as it allows the flour to hydrate and makes the dough easier to work with later.
Incorporate yeast and salt into the dough
While your dough rests, sprinkle 1g (or a pinch) of active dry yeast over the remaining tablespoon of warm water to dissolve. Once your dough has rested, sprinkle 10g of fine salt on top. Pour the yeast mixture over the dough, and use your damp hands to fold everything together. This folding action helps integrate the salt and yeast evenly throughout the dough and develops the gluten needed for that incredible texture. Keep folding until you achieve a shaggy consistency, then cover the bowl again and let it rest for an hour.
Develop gluten through folding
After the initial resting period, it’s time to develop the gluten further. Lightly wet your hand and gently pull and stretch a section of the dough, folding it over the center. Rotate the bowl gradually and repeat this folding technique 4-5 times, until the dough tightens into a smooth ball. Invert the ball into a lightly greased bowl with the seam side down, cover, and allow it to rise until doubled in size—this can take about 5 to 6 hours.
Shape and rest the dough balls
Now that your dough has risen beautifully, turn it out onto a floured surface and divide it into two equal pieces. Working with one piece at a time, shape it into a ball by stretching the edges towards the center and pinching them together. Place the dough seam-side down in a greased bowl, cover lightly with oil, and let them rest at room temperature for about an hour, or until nicely puffed—a sign that your artisan pizza dough is ready for action!
Prepare the dough for baking
As your oven preheats to the highest temperature it can handle (around 500°F works wonders), it’s time for the final preparation. Lightly flour a pizza peel or grease a cast iron pan. Shape the dough into your desired pizza round, ensuring to keep a thicker edge. Add your favorite toppings, and don’t be shy—this is your time to shine! Slide it onto the heated surface and bake until perfect golden brown.
And there you have it! With this artisan pizza dough, you’re just a few steps away from an unforgettable homemade pizza experience. Enjoy the journey as much as the delicious destination!
Variations on Artisan Pizza Dough
Flavored Dough Options
Elevate your artisan pizza dough with a burst of flavor! Consider incorporating ingredients like minced garlic, chopped herbs (like basil or rosemary), or even a dash of cheese powder for a savory twist. For those with a sweet tooth, a hint of cinnamon can work beautifully in dessert pizzas. These additions not only enhance the flavor but can also bring a fun twist to your pizza night. Feel free to experiment and find the combination that resonates with you!
Whole Grain Artisan Pizza Dough
If you’re looking for a healthier alternative, try substituting a portion of all-purpose flour with whole grain flour. This variation boosts the fiber content and lends a nutty flavor to your artisan pizza dough. You’ll still enjoy that beloved crispiness and chewiness while embracing a whole grain goodness, making it a fantastic option for more nutritious meals. Check out these health benefits of whole grains to learn more!
Cooking Tips and Notes for Artisan Pizza Dough
Importance of Hydration in Pizza Dough
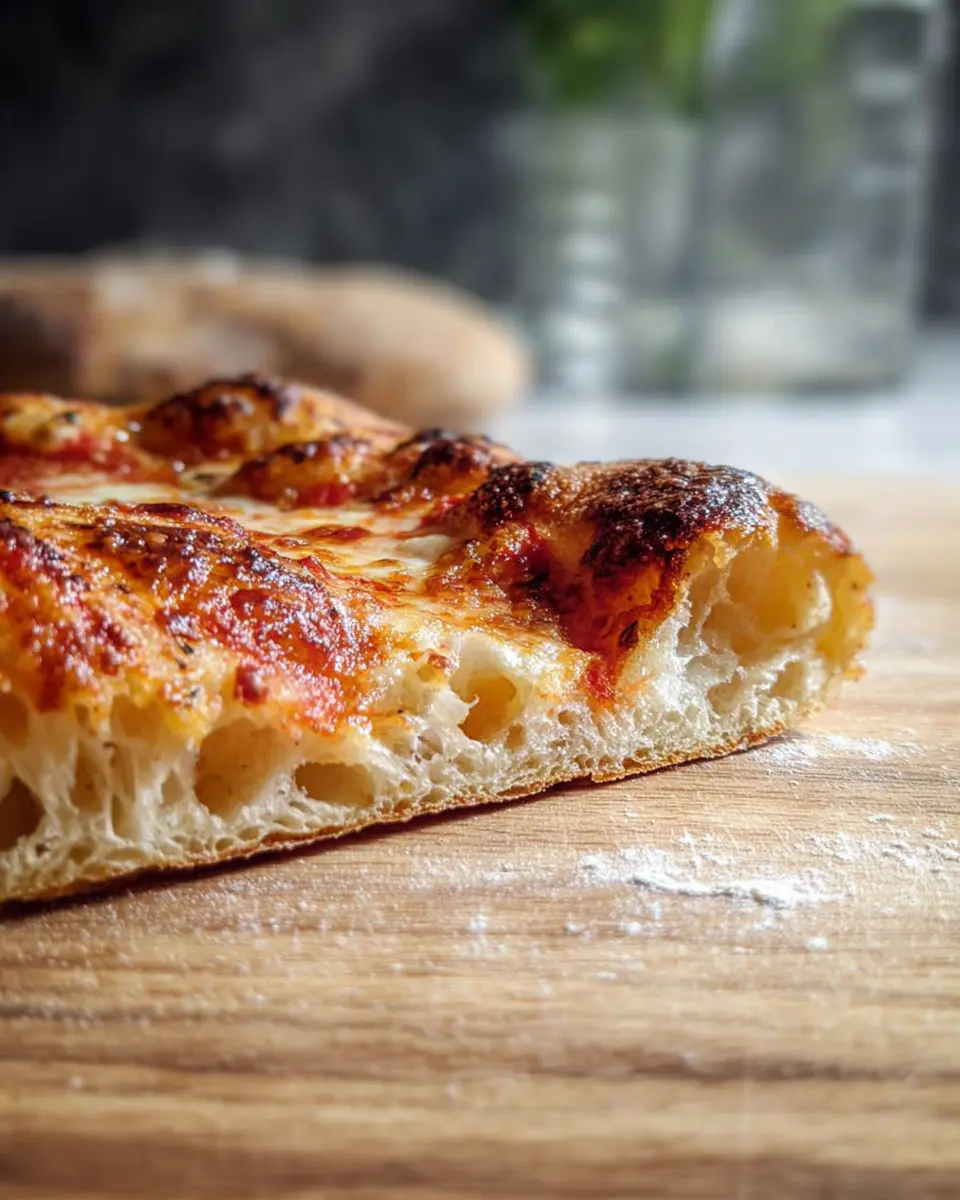
The hydration level in your artisan pizza dough is crucial; it determines the dough's texture and flavor. A higher hydration creates a more open crumb with those lovely bubbles and chewiness. Use warm water for better yeast activation. For a deeper dive into dough hydration, check out Knead Love.
Tips for Achieving That Crispy Crust
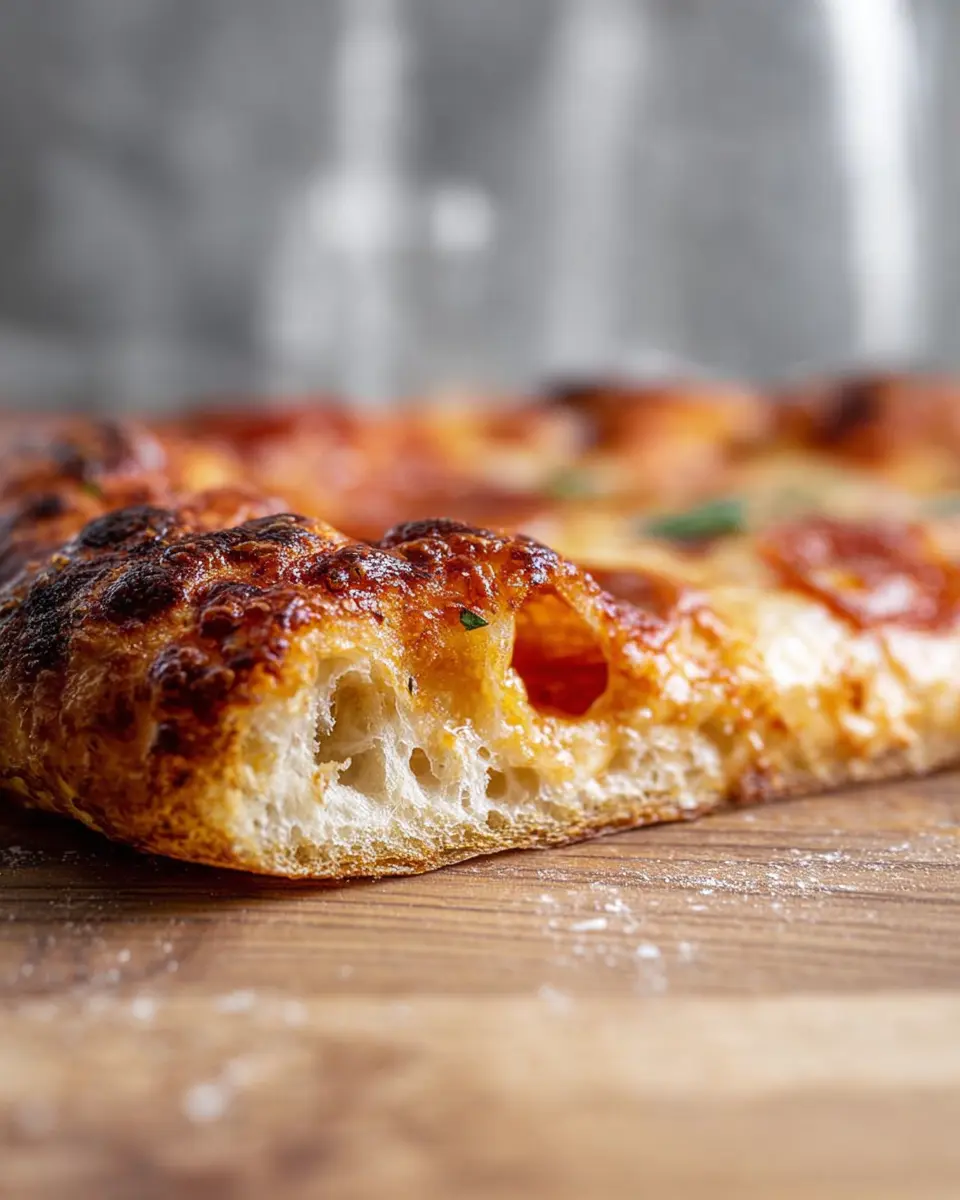
To get that metallic, crispy crust that everyone loves, preheat your oven as high as it will go, ideally around 500°F or more. Using a pizza stone or steel helps retain heat. Ensure your pizza dough is well-floured on the peel to prevent sticking. Finally, don't skip that broiling step—it's what gives you those gorgeous charred spots. Happy pizza making!
Serving suggestions for Artisan Pizza Dough
Classic topping ideas
When you're ready to throw together a pizza, start with the classics. A simple Margherita, featuring fresh tomatoes, mozzarella cheese, and fragrant basil, celebrates the dough’s incredible flavor. Alternatively, a pepperoni pizza with sliced Turkey Bacon or Chicken Ham can satisfy anyone's cravings. Don’t forget to drizzle your creation with high-quality olive oil before serving for that extra touch of richness.
Creative ingredient combinations for gourmet pizzas
Elevate your artisan pizza dough experience with gourmet toppings! Try pairing Beef, caramelized onions, and tangy blue cheese for a savory twist. For a fresh twist, consider a white pizza topped with spinach, ricotta, and artichokes. Feeling adventurous? A seasonal combination of roasted squash, sage, and goat cheese will impress your friends. The possibilities are endless—mix and match until you find your perfect slice!
For more inspiration, check out this pizza topping guide to explore new flavors and combinations that suit all palates.
Time breakdown for Artisan Pizza Dough
When making artisan pizza dough, it’s all about timing! Here’s a helpful breakdown to guide you.
Preparation time
Start by setting aside about 20 minutes to mix your ingredients and let the dough rest. Trust me, it’s worth the wait for that incredible flavor!
Rising time
Next, you'll need 5 to 6 hours for the dough to rise. This long fermentation is essential for developing a rich taste and chewy texture that makes artisan pizza so delightful.
Baking time
Once your dough is ready, the actual baking only takes around 8 minutes at a high temperature. A quick bake equals that crispy, bubbly crust you’re aiming for!
By following this timeline, you’ll be well on your way to crafting the perfect artisan pizza dough. Happy baking! For tips on perfect toppings, check out this resource.
Nutritional Facts for Artisan Pizza Dough
Calories per Serving
Each serving of artisan pizza dough (about a quarter of a 12-inch pizza) contains approximately 228 calories. This makes it a great option for those balancing indulgence with mindful eating.
Protein Content
With a protein content of 6.5g per serving, this dough provides a satisfying boost, helping to keep you full and energized, whether you're hosting a pizza night or just enjoying a quiet evening at home.
Sodium Level
The sodium level in this recipe stands at 488mg per serving, which is relatively moderate. If you're watching your sodium intake, consider using fresh ingredients like herbs and spices for added flavor without extra salt.
For more information on nutrition, check out this great resource from the USDA or consult the Harvard T.H. Chan School of Public Health for insights on maintaining a balanced diet while enjoying your favorite foods.
FAQs about Artisan Pizza Dough
How do I know when my dough is ready to bake?
You’ll know your artisan pizza dough is ready when it has doubled in size and feels light and airy. A good test is the “poke test”: gently poke the dough, and if it springs back slowly, it’s ready to bake. If it feels dense and springs back quickly, it likely needs more time to rise!
Can I make this dough ahead of time?
Absolutely! This artisan pizza dough can be made ahead and stored in the refrigerator for up to two days. Just make sure to tightly wrap it in plastic wrap to prevent it from drying out. This long fermentation can actually enhance the flavor, resulting in a more delicious crust!
What are the best toppings for artisan pizza?
When it comes to toppings, the sky's the limit! Here are some popular choices:
- Fresh mozzarella
- Tomato sauce or simple crushed tomatoes
- Basil or arugula
- Turkey bacon or chicken ham
- Sautéed vegetables
Experiment with flavors and create your signature pizza! For more inspiration, check out Serious Eats for unique topping combinations.
Conclusion on Artisan Pizza Dough
Making your own artisan pizza dough transforms a simple pizza night into a gourmet experience! The fresh ingredients and lengthy fermentation not only improve the flavor but also allow you to customize toppings. With practice, you’ll create delightful, restaurant-quality pizzas that impress your friends and family every time!
Why Making Your Own Artisan Pizza Dough Elevates Your Pizza Night!
Crafting your own artisan pizza dough gives you unparalleled control over flavor and texture. Store-bought options can’t compete with the unique blend of ingredients and the joy of creating something from scratch. Plus, the long fermentation process enhances the dough's flavor, leading to a crisp, chewy crust that's perfectly blistered.
When you gather with friends or family around homemade pizza, you’re not just sharing a meal; you're creating memories. It’s a chance to experiment with flavors and toppings—imagine a savory mix of fresh veggies or a tangy sauce paired with turkey bacon or chicken ham.
Don’t hesitate to explore! Use specialty toppings, try different cheeses, or even venture into dessert pizzas. The sky's the limit with your artisan pizza dough, and the result is always a delicious, customized treat that everyone will love.
Ready to elevate your pizza night? Dust off that apron, roll up your sleeves, and let’s get baking! For more tips on perfecting your pie, check out Serious Eats or America's Test Kitchen.
artisan pizza dough- crispy, chewy, bubbly crust
Equipment
- large bowl
- Pizza Peel
- oven
- cast iron pan
- floured work surface
Ingredients
Dough Ingredients
- 500 g all-purpose flour
- 375 g warm water divided
- 1 g active dry yeast
- 10 g fine salt
Instructions
Dough Preparation
- Mix flour and all but 1 tablespoon of the water in a large bowl until just combined, then cover and set aside for 20 minutes to rest. Sprinkle yeast over remaining warm water and set aside to dissolve.
- Sprinkle salt over the surface of the dough. Stir yeast mixture and pour over dough. Fold the dough: lightly wet your hand, reach under the dough, and stretch a section of it over the top. Repeat until the center of the dough is covered. Then, using your thumb and fingers as pincers, squeeze and pinch off 5-6 chunks of dough. Wet your hand to minimize sticking. Fold the dough over itself a few times. Repeat pinching and folding until the yeast and salt are fully mixed and a shaggy dough is formed. Cover the bowl and let rest about an hour.
- Fold the dough one time to develop the gluten: lightly wet your hand, reach underneath the dough and stretch up a section of the dough, then fold it over the center. Rotate the bowl and fold four to five more times, or until the dough has tightened into a ball. Take the entire ball of dough and invert it into a clean, lightly greased bowl, so the seam is down and the top is smooth. Cover and let rise until doubled in volume, 5-6 hours.
- Turn the dough out onto a floured work surface and cut in half. Working with one piece of dough at a time, shape into a ball as follows. Stretch out a quarter of the dough just until you feel resistance, then fold it back over the center. Repeat stretching and folding the remaining three edges until the center is covered and a loose ball is formed. Turn the ball over so the seam is down and place it on an un-floured area. Cup your hands around the dough and gently pull it towards you, dragging the bottom along the counter to create a bit of tension. Rotate the ball 90 degrees and drag it a few inches towards you again. Repeat rotating and gently dragging until the top of the dough tightens up and the ball is round.
- Transfer to a greased plate and repeat with remaining dough. Lightly oil the tops, cover and let rest at room temperature for about an hour. Preheat oven at this time. If not using right away, cover tightly with plastic wrap and refrigerate until ready (for up to 2 days).
Cooking Pizza
- Place pizza steel, stone, or inverted baking sheet on the middle rack of the oven and preheat to 500°F (or as high as it will go). Let oven heat up for at least 45 minutes. Generously flour a pizza peel and set aside. Alternatively, lightly grease a cast iron pan with olive oil and set aside.
- Place one dough ball on a floured surface and flatten the middle into a large disk, leaving a thick 1-inch lip. Pick up the disk, and holding the thick edge, use gravity to gently shape the dough into a 12-inch circle. Lay on prepared pizza peel and adjust shape into a circle. Jiggle the peel to make sure the dough isn’t sticking, and add more flour if it is. Alternatively, shape the dough to the size of your prepared cast iron pan, then place it inside.
- Add sauce and toppings to pizza dough, leaving the 1-inch perimeter empty. Slide pizza onto the hot steel and bake for 5 minutes. Turn on the broiler and broil for 2-4 minutes, or until cheese is melted and crust is golden and blistered. If using the cast iron pan, bake for 15-20 minutes and broil for the last few minutes to get spots of char. Repeat with remaining pizza dough and toppings.


Leave a Reply