
Introduction to Banana Pudding
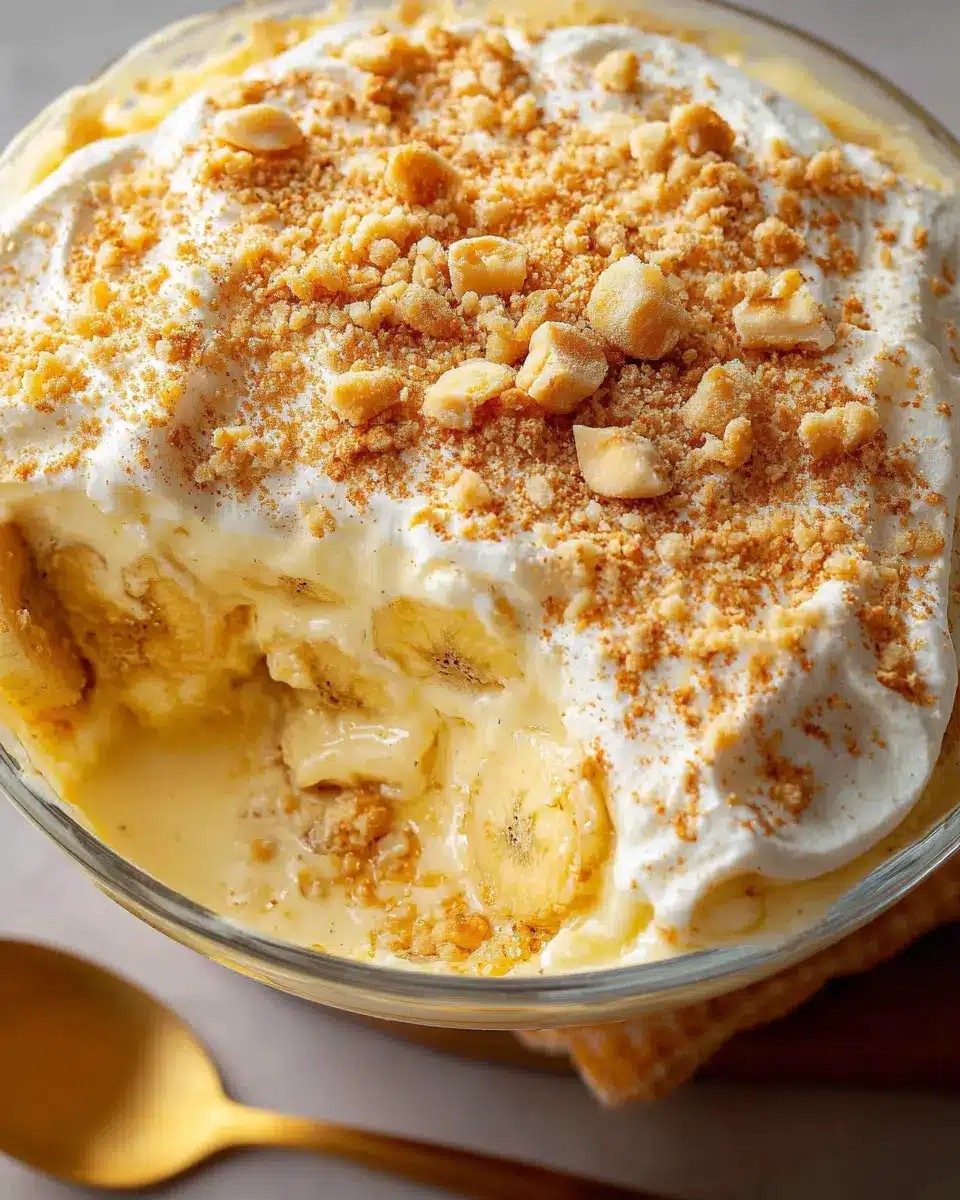
Banana pudding is not just a dessert; it’s a warm hug on a plate. This scrumptious delicacy layers creamy pudding, sweet bananas, and crispy vanilla wafers, creating a delightful texture that dances on your palate. What makes banana pudding the ultimate comfort food? It evokes memories of family gatherings, kitchen aromas, and laughter, reminding us of simpler times spent with loved ones.
This beloved treat is incredibly versatile, making it suitable for any time of day. Whether you're indulging after dinner or savoring a scoop for breakfast, banana pudding always feels right. According to a survey by Food & Wine, comfort foods like this dessert are more than just tasty; they connect us to our memories and cultural roots, which can be doubly comforting during hectic times.
Beyond its nostalgic charm, banana pudding is also refreshingly straightforward to prepare. With just a few ingredients like bananas, milk, and vanilla wafers, you can whip up a batch that impresses both family and friends. Imagine the smiles on your loved ones' faces as they dig into a bowl of your homemade banana pudding. So why not embrace this culinary classic? For the full recipe, keep reading!
For more intriguing dessert ideas, check out sources like Serious Eats or Bon Appétit for inspiration.
Ingredients for Banana Pudding
Essential Ingredients for Classic Banana Pudding
Creating that perfect, comforting banana pudding requires just a handful of essential ingredients:
- ¾ cup sugar: This adds sweetness to balance the richness of the pudding.
- ¼ cup all-purpose flour: It helps thicken the mixture, giving it that luscious texture we all love.
- ¼ teaspoon salt: Just a pinch enhances the overall flavor.
- 3 cups 2% milk: Whole milk works too, but 2% strikes a nice balance.
- 3 large eggs: These are key to achieving a creamy custard base.
- 1-½ teaspoons vanilla extract: A must for that lovely vanilla flavor!
- 8 ounces vanilla wafers: The iconic base for your layers, about 60 cookies.
- 4 large ripe bananas: The star of the show, sliced to perfection.
Optional Ingredients for Extra Flavor
Want to elevate your banana pudding even more? Consider adding:
- Cinnamon or nutmeg: A sprinkle can add warm spices to your dessert.
- Whipped cream: For an extra creamy layer on top.
- Chopped nuts: Pecans or walnuts can provide a delightful crunch.
These simple add-ins can make your banana pudding truly stand out. Want to dive deeper into flavor combinations? Check out Baker's Journal for inspiration!
Preparing Banana Pudding
Creating the perfect banana pudding is not just a culinary task; it’s a delicious journey that brings you closer to those nostalgic flavors from childhood. Here’s a step-by-step guide to ensure your banana pudding is nothing short of amazing!
Gather Your Ingredients
Before you start cooking, it’s essential to have everything you need at hand. Here’s a quick list of what you’ll require:
- ¾ cup sugar
- ¼ cup all-purpose flour
- ¼ teaspoon salt
- 3 cups 2% milk
- 3 large eggs
- 1-½ teaspoons vanilla extract
- 8 ounces vanilla wafers (approximately 60 cookies), divided
- 4 large ripe bananas, sliced into ¼-inch pieces
Having all your ingredients organized not only simplifies the cooking process but also minimizes that last-minute search for items!
Whisk and Cook the Pudding Base
To start, grab a large saucepan and mix together the sugar, flour, and salt. As you whisk in the milk, it’s essential to keep stirring. Cook this mixture over medium heat until it thickens and bubbles up—that’s your pudding base coming to life! Turn down the heat and cook for an additional two minutes to ensure that it’s perfectly thickened. Once you remove it from the heat, let the mixture cool slightly—about 15 minutes is ideal.
For tips on achieving the best pudding consistency, check out this helpful guide on pudding techniques.
Temper the Eggs for a Creamy Consistency
This step is crucial! In a separate small bowl, whisk the eggs vigorously. To prevent them from scrambling when added to the hot mixture, slowly introduce a small amount of the warm pudding base into the eggs while whisking continuously. This process is called tempering, and it ensures a velvety texture in your banana pudding. After the eggs are warmed up, you can return the mixture to the saucepan and cook until it reaches a gentle boil. Keep stirring it for another couple of minutes, then stir in that delicious vanilla extract—pure bliss!
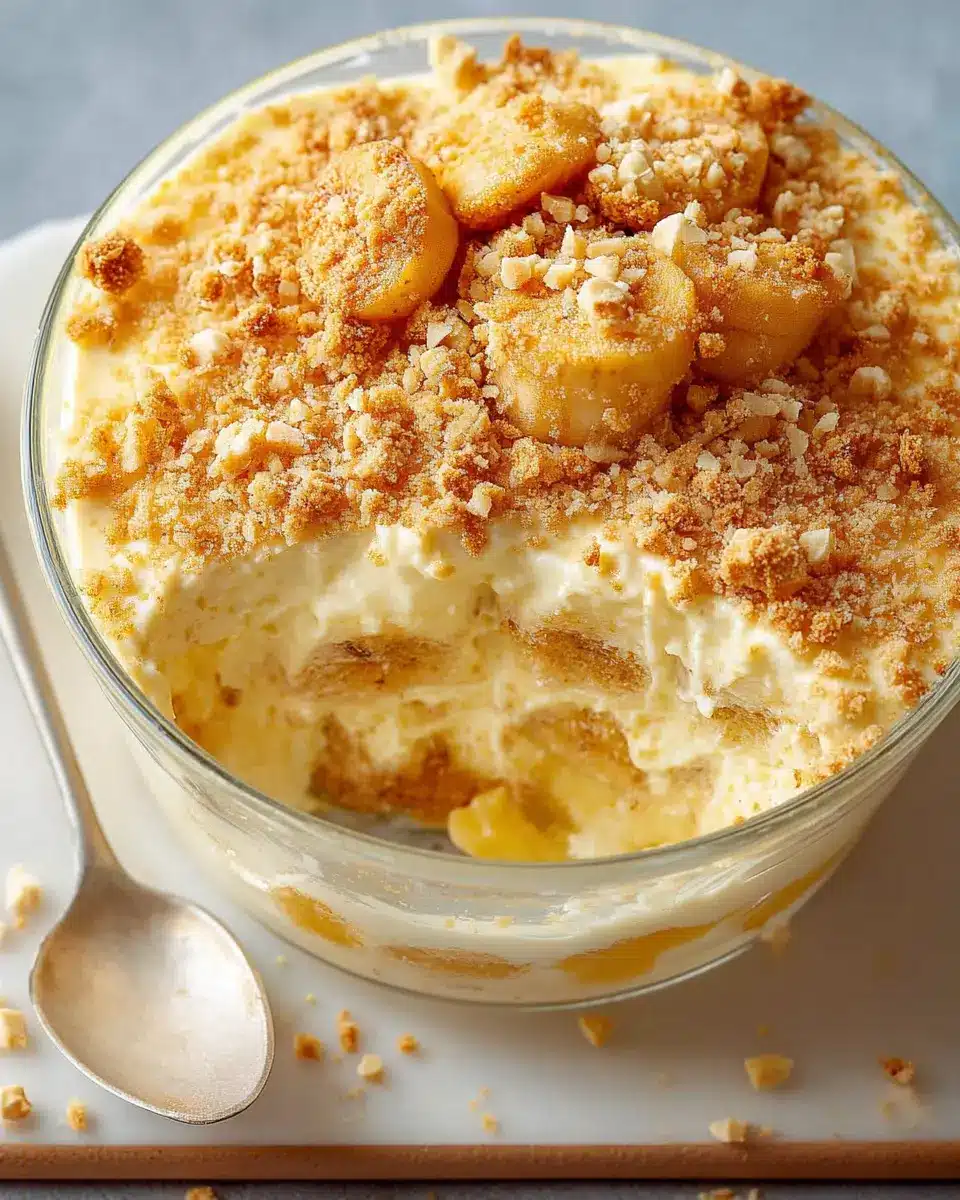
Layer the Pudding, Bananas, and Wafers
Now that your pudding base is ready, it’s time for assembly. In an ungreased 8-inch square baking dish, create layers starting with 25 vanilla wafers. Follow with half of the banana slices, then half of your pudding. Repeat this layering process to ensure that every bite of your banana pudding is loaded with flavor and texture.
Chill and Let the Flavors Marry
The final step is one of the hardest, believe me! Cover your pudding with plastic wrap, pressing it gently onto the surface to prevent a skin from forming. Now, pop it in the fridge for about four hours, or if you can wait, overnight is even better. This chilling time let all those lovely flavors truly come together.
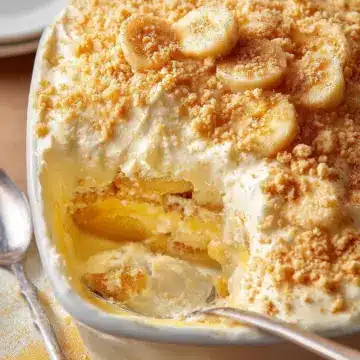
When ready to serve, crush the remaining wafers and sprinkle them over the top for a delightful crunch. Enjoy your homemade banana pudding—it’s a treat that’ll surely bring smiles to your table!
Variations on Banana Pudding
Chocolate Banana Pudding
Why not elevate your classic banana pudding by adding a rich twist of chocolate? Simply fold in some cocoa powder to your pudding mix, or use chocolate pudding as a layer. Top with shavings of dark chocolate or chocolate wafers to make it indulgent and irresistibly tasty. It’s an easy way to satisfy all those chocolate cravings while still holding on to that beloved banana flavor!
Tropical Banana Pudding with Coconut
If you’re dreaming of a tropical escape, try a tropical banana pudding with coconut. Add toasted coconut flakes to the pudding and layer fresh pineapple chunks in between the banana slices. This delightful variation brings a sunny, fruity flair that’s perfect for summer gatherings or a refreshing twist any time of year. Don't forget to sprinkle some extra coconut on top for that beachy vibe!
Looking for more ideas? Check out these coconut desserts that pair beautifully with banana!
Cooking Tips and Notes for Banana Pudding
Tips for Achieving the Perfect Texture
To create a banana pudding that is luxuriously creamy and smooth, ensure you cook your pudding mixture just until it thickens. Overcooking can lead to a grainy texture. For best results, stir constantly and remove from heat as soon as it bubbles. Consider using a fine-mesh strainer to catch any lumps before layering your dessert.
Storing Your Banana Pudding for Freshness
To keep your banana pudding fresh, cover it tightly with plastic wrap, pressing the wrap directly onto the surface of the pudding to prevent oxidation. It’s best enjoyed within a couple of days, as bananas can turn brown. If storing longer, consider adding fresh banana slices just before serving. For more tips on storing desserts, check out this helpful guide.
Serving Suggestions for Banana Pudding
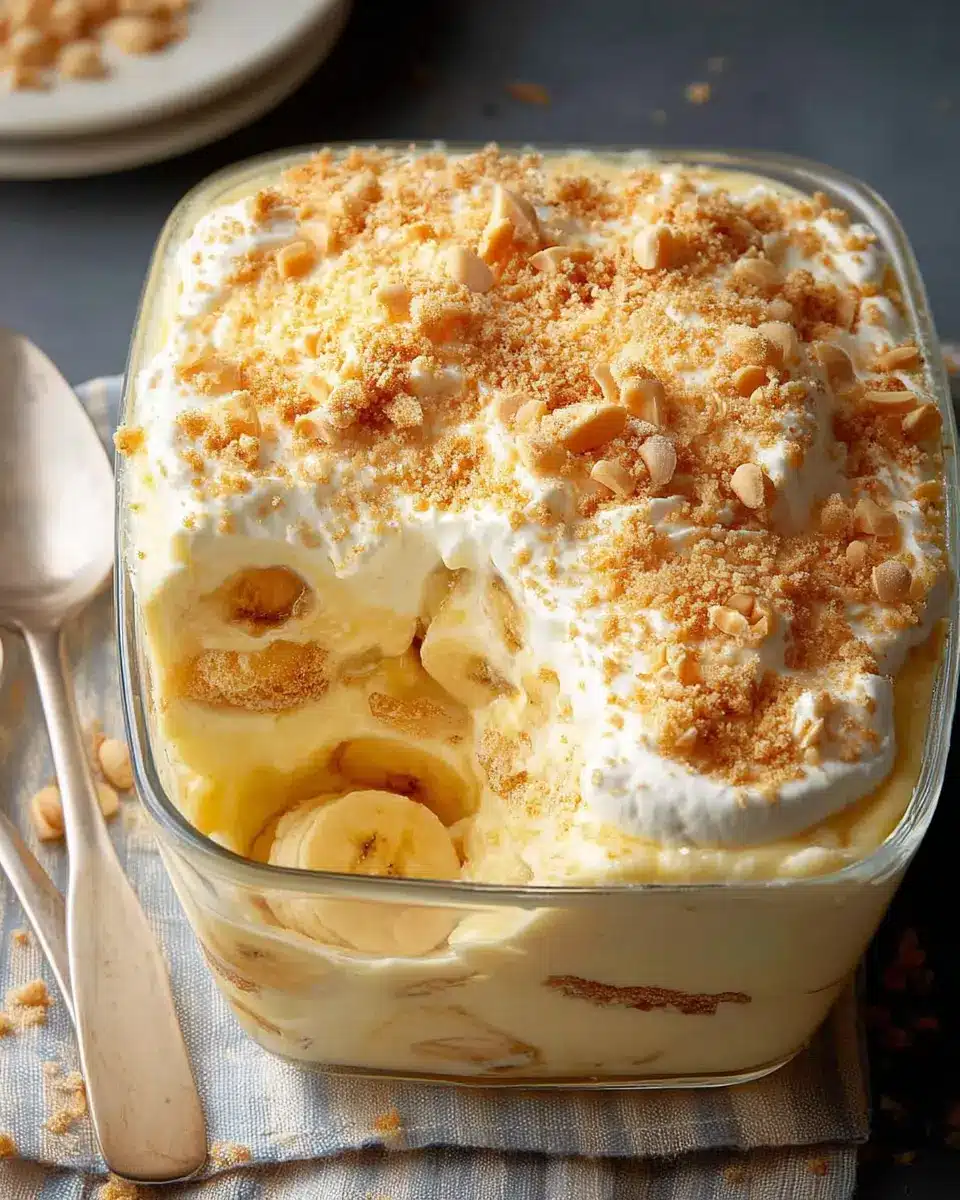
Creative Ways to Serve Banana Pudding
Elevate your banana pudding experience by serving it in unique ways! Consider using individual jars for a charming presentation at parties or picnics. Layering the pudding in parfait glasses can make a beautiful dessert for any occasion. You might even add fun toppings, such as crushed nuts, shredded coconut, or a drizzle of caramel sauce, to create a personalized touch.
Pairing Your Banana Pudding with Other Desserts
To complement your sweet treat, try pairing your banana pudding with lighter desserts like a refreshing fruit salad or a scoop of vanilla ice cream. If you're in the mood for something rich, a slice of chocolate cake or a decadent brownie will balance the flavors beautifully. For a festive twist, serve alongside your favorite seasonal pies, like pumpkin or pecan. Experimenting with these pairings can make your dessert spread truly irresistible!
Time Breakdown for Banana Pudding
Preparation Time
This delightful banana pudding takes about 35 minutes to prepare. With a few simple steps, you’ll be well on your way to creating a dish that’s reminiscent of Grandma’s kitchen.
Chilling Time
After preparation, your banana pudding needs a little time in the refrigerator to set perfectly. Plan for at least 4 hours of chilling time, or overnight if you prefer a more intense flavor.
Total Time
In total, you’re looking at around 4 hours and 35 minutes to create this comforting dessert. It’s worth the wait, trust me!
For those who love nostalgia, check out this link on making the perfect banana pudding that even your grandma would approve of!
Nutritional Facts for Banana Pudding
Calories per Serving
One serving of this delightful banana pudding contains approximately 302 calories. It's a sweet treat, but it’s manageable within a balanced diet.
Key Nutritional Information
- Total Fat: 7g (2g saturated)
- Cholesterol: 80mg
- Sodium: 206mg
- Total Carbohydrates: 55g (37g sugars, 2g fiber)
- Protein: 7g
This comforting dessert combines sweet flavors and creamy textures that many love, making it suitable for indulgence without guilt. For a deeper dive into nutrition, check out resources like the USDA FoodData Central or Nutrition.gov for more insights.
Have you ever had a recipe that feels like a warm hug? Banana pudding often evokes such nostalgia, reminding us of cherished moments and family gatherings. Enjoy every spoonful, knowing you're indulging in a classic!
FAQs about Banana Pudding
What type of bananas are best for banana pudding?
When making bananas pudding, opt for ripe but firm bananas. Varieties like Cavendish are perfect due to their sweetness and texture. Using overripe bananas can result in a mushy consistency, which might not hold up well when layered with other ingredients. Choose bananas with a few brown spots, as they offer the best balance of sweetness and structure.
How can I make banana pudding vegan?
To create a vegan version of banana pudding, substitute dairy milk with almond, cashew, or oat milk. For the eggs, a mixture of cornstarch and water or a vegan custard powder can work wonders. Ensure that your vanilla wafers are also vegan-friendly—many brands offer suitable options! With these adjustments, you can enjoy a creamy, delicious dessert that fits your dietary preferences.
What is the best way to store leftover banana pudding?
To maintain the delightful texture of your banana pudding, cover it tightly with plastic wrap or transfer it to an airtight container. Store it in the refrigerator for up to three days. To prevent the bananas from browning, consider sprinkling a bit of lemon juice over them before layering. Enjoy your delicious dessert chilled, just like it’s meant to be!
Conclusion on Banana Pudding
Why You Need This Recipe in Your Life
This banana pudding recipe is a nostalgic treat that brings warmth to any gathering, evoking memories of cherished family moments. With its creamy texture and delightful layers of flavor, it’s not just a dessert but a comforting dish perfect for any occasion. So, dive in and enjoy every bite!
For a deeper dive into the delicious world of desserts, check out Serious Eats for more mouthwatering recipes and tips.
Banana Pudding
Equipment
- large saucepan
- small bowl
- 8-inch square baking dish
Ingredients
- ¾ cup sugar
- ¼ cup all-purpose flour
- ¼ teaspoon salt
- 3 cups 2% milk
- 3 large eggs
- 1-½ teaspoons vanilla extract
- 8 ounces vanilla wafers about 60 cookies, divided
- 4 large ripe bananas cut into ¼-inch slices
Instructions
- In a large saucepan, mix sugar, flour and salt. Whisk in milk. Cook and stir over medium heat until thickened and bubbly. Reduce heat to low; cook and stir 2 minutes longer. Remove from heat.
- In a small bowl, whisk eggs. Whisk a small amount of hot mixture into eggs; return all to pan, whisking constantly. Bring to a gentle boil; cook and stir 2 minutes. Remove from heat. Stir in vanilla. Cool 15 minutes, stirring occasionally.
- In an ungreased 8-in. square baking dish, layer 25 vanilla wafers, half the banana slices and half the pudding. Repeat layers.
- Press plastic wrap onto surface of pudding. Refrigerate 4 hours or overnight. Just before serving, remove wrap; crush remaining wafers and sprinkle over top.

Leave a Reply