
Introduction to Easy Milk Bread Loaf
Why Homemade Bread is a Game Changer for Young Professionals
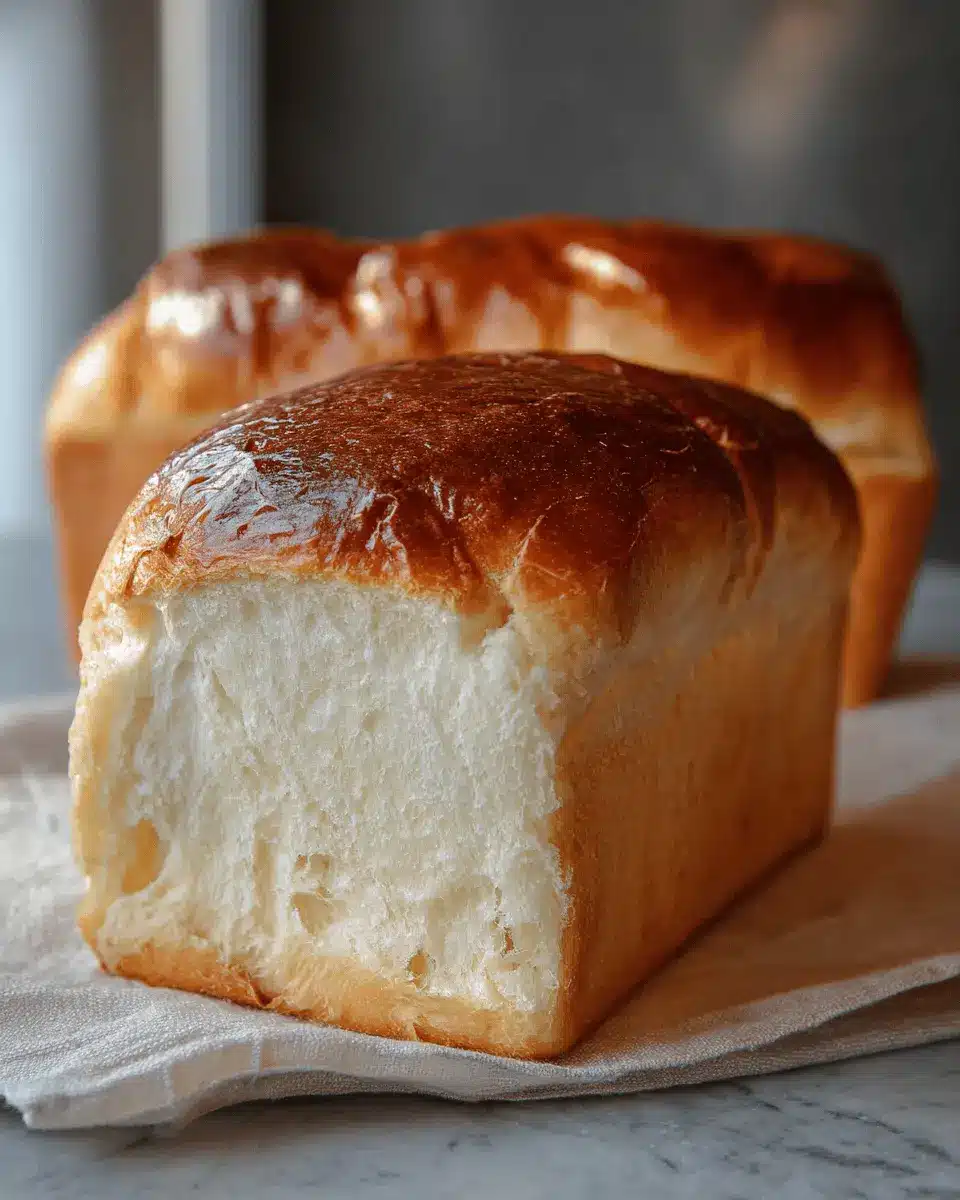
For young professionals juggling busy schedules, the thought of baking bread might seem overwhelming. However, making an easy milk bread loaf is not only achievable, but it can also become one of your favorite kitchen activities. Picture this: the heady aroma of freshly baked bread drifting through your home, bringing comfort and delight after a long day at work.
Homemade bread offers several benefits beyond the delicious taste. Consider this: baking allows you to control the ingredients, ensuring that your loaf is both healthy and tailored to your preference. Plus, the act of kneading dough can be surprisingly therapeutic, allowing you a moment to disconnect from the hustle and bustle of daily life.
You'll also discover that homemade bread is incredibly versatile. Use it for toasted turkey bacon sandwiches, or simply slather with butter for a satisfying snack. Not to mention, sharing a loaf with friends or family can create meaningful connections, making it a delightful way to extend hospitality.
Ready to embark on your bread-baking journey? With just a few simple ingredients and this easy recipe, you’ll find yourself becoming an accomplished home baker in no time. So why wait? Let’s dive into the world of easy milk bread loaf!
Ingredients for Easy Milk Bread Loaf
Essential Ingredients for a Fluffy Milk Bread
To whip up a delightful easy milk bread loaf, you’ll need a few staples that ensure your bread comes out wonderfully fluffy and soft. Here’s what to gather:
- 500 g bread flour (3¾ cup): This is crucial for structure and chewiness.
- 40 g sugar (3 tablespoons): Sweetness enhances flavor and contributes to that beautiful crust.
- 1½ tsps instant yeast: This magical ingredient is key for leavening.
- 225 g cold water (just under 1 cup): Cold water helps control the dough temperature while kneading.
- 115 g cold milk (½ cup): Adds richness and moisture.
- 9 g sea salt (1½ tsp): Balances sweetness and strengthens gluten.
- 25 g unsalted butter (1¾ tbsp): Provides a rich flavor and tender crumb.
Optional Additions for Flavor and Texture
While the essentials are all you need to create a delicious easy milk bread loaf, feel free to experiment! Consider these optional additions for extra flavor and texture:
- Seeds: Sesame or poppy seeds on top can add a nice crunch.
- Herbs: Fresh or dried herbs can infuse the bread with unique flavors.
- Dried fruits: Add raisins or cranberries for a sweet twist.
Why not let your creativity shine? Don’t hesitate to adjust according to your tastes!
Step-by-step preparation of Easy Milk Bread Loaf
Creating your own easy milk bread loaf at home can be both rewarding and fulfilling! Here’s a simple guide that walks you through the process step-by-step. Let’s dive in!
Gather your equipment and ingredients
The first step in making your delicious milk bread loaf is to ensure you have everything you need at hand. Gather the following equipment and ingredients:
Equipment:
- Loaf pan (10 x 5 inches)
- Stand mixer
Ingredients:
- 500 g bread flour (3¾ cups)
- 40 g sugar (3 tablespoons)
- 1½ teaspoons instant yeast
- 225 g cold water (a little bit less than 1 cup)
- 115 g cold milk (½ cup)
- 9 g sea salt (1½ teaspoons)
- 25 g unsalted butter (1¾ tablespoons)
This is the perfect setup to get you started on a fluffy loaf that brings back memories of childhood baking days.
Make the dough and let it rest
Start by mixing the bread flour, sugar, yeast, water, and milk in your stand mixer on low speed. This should take just a couple of minutes until a dough forms. Cover the bowl and let it rest for about 30 minutes, during which you can leave 25 g of butter at room temperature to soften.
Knead the dough to perfection
Once the dough has rested, add in the salt and continue kneading for about a minute. Now, introduce the softened butter cubes, kneading until the dough passes what’s known as the "windowpane test." This simply means you can stretch a small piece of dough thin enough to let light pass through without tearing.
Shape the dough for a beautiful loaf
After kneading, transfer the dough onto a floured working surface. Cut it gently into three even pieces, forming balls. Allow them to rest for about 15 minutes under a damp dish towel. Then, roll each ball into an oval shape and roll them up into logs. Give each log a 90-degree rotation before rolling it out again to achieve that layered look.
Proofing the dough for that perfect rise
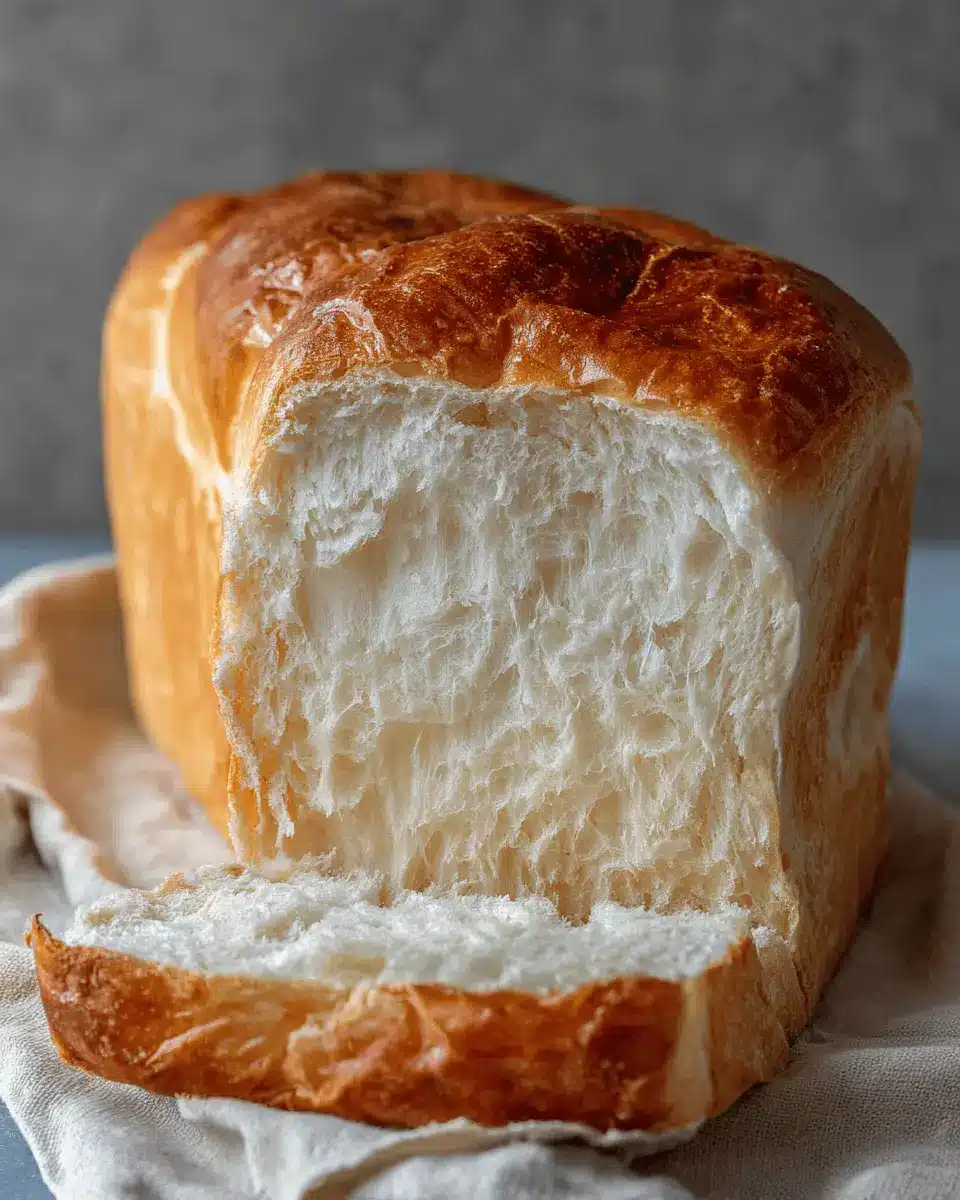
Grease your loaf pan and place the rolled dough inside. Cover it with greased plastic wrap and let it rise in a warm spot until it fills 80-90% of the pan, which usually takes about 1 to 1.5 hours. This step is crucial for achieving that soft, airy texture we all love in a loaf of milk bread.
Bake the bread for 30-35 minutes
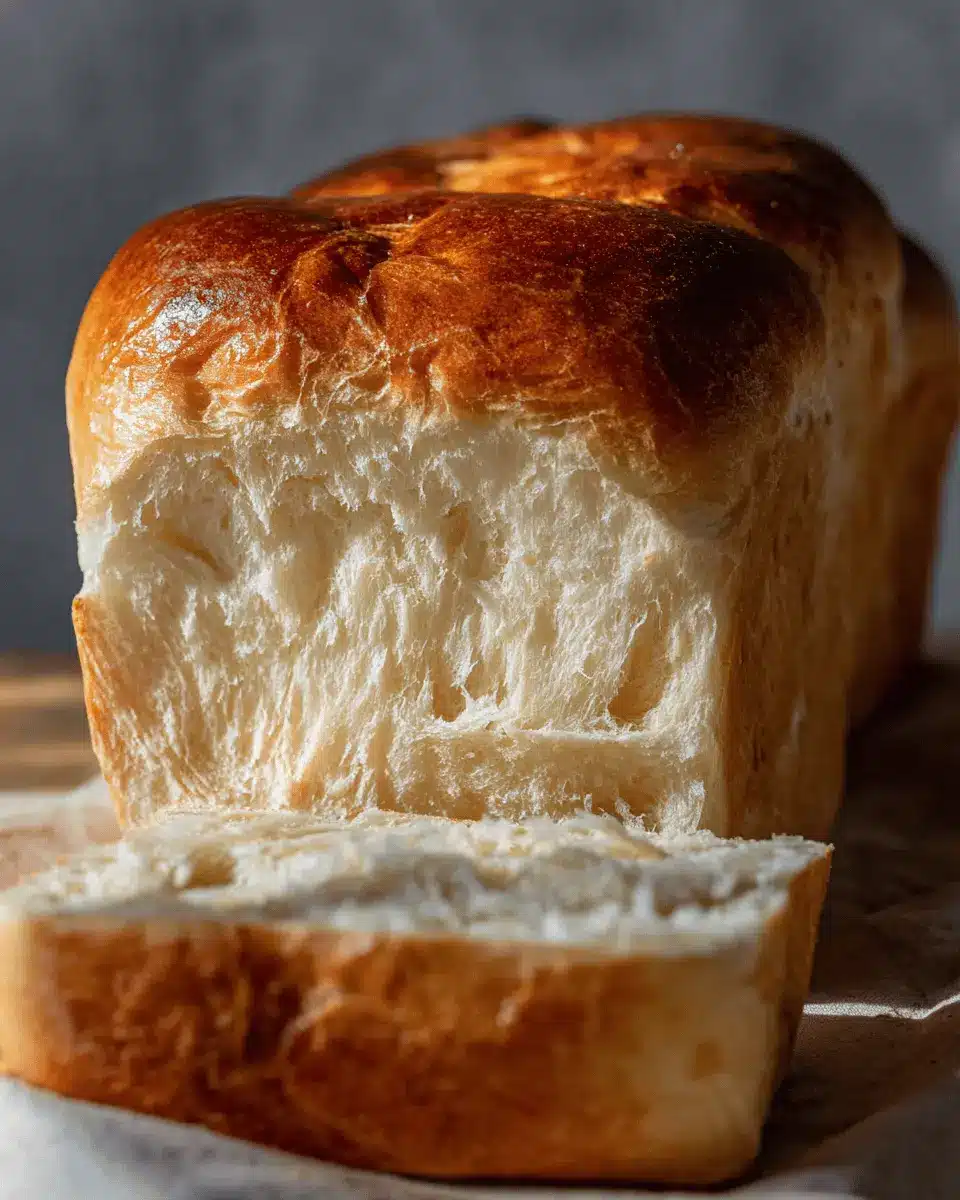
Preheat your oven to 375°F (190°C) during the last 20 minutes of proofing. Once ready, bake your loaf for 30-35 minutes. Here's a pro tip: after the first 15 minutes, loosely cover top with foil to prevent over-browning. Finally, once it's out, drop the pan from about two inches high to prevent shrinkage, and brush the top with melted butter. Let it cool for about 15 minutes before slicing into that warm, fresh loaf!
And there you have it—a delightful easy milk bread loaf ready to bring smiles at your breakfast table. Enjoy every soft, fluffy bite!
Variations on Easy Milk Bread Loaf
Exploring different flavors with your easy milk bread loaf brings an exciting twist to this classic recipe! Here are two delightful variations to try at home.
Coconut Milk Bread Twist
Substituting regular milk with coconut milk creates a light, subtly sweet loaf that’s perfect for tropical-themed brunches. Use the same amount of coconut milk as specified in the recipe, and for added texture, consider folding in shredded coconut right before shaping the dough. This variation not only tastes amazing but also adds a lovely aroma to your kitchen.
Herb-Infused Milk Bread
If you’re in the mood for something savory, try infusing your easy milk bread loaf with fresh herbs! Simply incorporate finely chopped rosemary, thyme, or basil while mixing the dough. This aromatic bread pairs wonderfully with soups and salads, making it a great accompaniment to dinner. Feel free to experiment with different herb combinations for a unique touch!
For more inspiration, check out these cooking techniques, which will help enhance your baking skills.
Cooking tips and notes for Easy Milk Bread Loaf
Tips for achieving the perfect texture
To create an irresistibly soft easy milk bread loaf, ensure you're using cold liquids for mixing. This keeps the dough cool and helps maintain a lighter texture. Additionally, be patient when kneading—aim for the windowpane test, where the dough stretches thin without tearing. Remember to let your dough rise in a warm place; a cozy oven can work wonders!
Common mistakes to avoid
Many home bakers overlook measuring ingredients accurately. Invest in a kitchen scale for consistent results. Another common pitfall is over-kneading the dough, which can lead to a dense loaf. Instead, focus on achieving that delightful fluffiness by following the suggested resting times between steps. And don’t forget to monitor your baking time—removing your loaf when it reaches about 190°F will prevent it from becoming dry.
For more bread-making insights, check out King Arthur Flour's baking resources. Happy baking!
Serving suggestions for Easy Milk Bread Loaf
Delicious toppings and spreads
Your easy milk bread loaf is so versatile! Try slathering it with creamy butter or a generous layer of peanut butter for a classic treat. You can also elevate your toast game with:
- Avocado topped with a sprinkle of salt and a dash of chili flakes.
- Cream cheese blended with herbs for a zesty spread.
- Honey or jam for a sweet start to your morning.
Pairing it with Turkey Bacon or Chicken Ham makes for a hearty breakfast or lunch!
Creative uses for leftover bread
Don't let any slices go to waste! Repurpose your easy milk bread loaf into delicious meals:
- French toast: Dip slices in a custard mixture for a decadent brunch.
- Bread crumbs: Process stale pieces for a homemade bread crumb alternative.
- Grilled cheese: Its fluffy texture makes for the best gooey sandwich.
For more ideas on using bread creatively, check out this bread recipe guide for inspiration!
Time Breakdown for Easy Milk Bread Loaf
Understanding the time commitment is crucial for baking success! Here’s a quick breakdown of the Easy Milk Bread Loaf recipe:
Preparation Time
- 30 minutes: This includes gathering your ingredients and mixing the dough. Perfect for a busy day!
Resting and Proofing Time
- 3 hours and 15 minutes: This allows the dough to rise beautifully, ensuring a soft and fluffy texture.
Baking Time
- 35 minutes: The aroma of freshly baked bread will fill your kitchen; don’t forget to check for that golden color!
Total Time
- 4 hours and 20 minutes: Plan accordingly, and you’ll have a delicious homemade milk bread ready to enjoy in no time.
For tips on kneading and proofing, you can check out King Arthur Baking for expert insights. Happy baking!
Nutritional Facts for Easy Milk Bread Loaf
Understanding the nutritional profile of your homemade easy milk bread loaf can enhance your baking experience! Each slice offers:
Calories
Each slice contains 189 calories, making this bread a comforting addition to your meals without derailing your nutritional goals.
Carbohydrates
With 35g of carbohydrates per slice, this bread provides a great source of energy, perfect for starting your day or refueling after a workout.
Protein
Your easy milk bread loaf delivers 6g of protein per slice, contributing to muscle repair and growth while keeping you satisfied longer.
Whether you enjoy it toasted with a spread or as a side to your favorite dish, knowing the facts helps you savor each slice guilt-free! For more insights on nutrition, check out Nutrition.gov and empower your culinary adventures!
FAQs about Easy Milk Bread Loaf
How do I store my homemade bread?
To keep your easy milk bread loaf fresh, store it in an airtight container or a resealable plastic bag at room temperature. This helps maintain its soft texture. If you live in a particularly humid climate, consider wrapping it in foil and then placing it in the bag to combat moisture.
Can I freeze milk bread?
Absolutely! You can freeze your milk bread loaf for up to three months. Allow it to cool completely, then wrap it tightly in plastic wrap and aluminum foil. When you're ready to enjoy it, simply thaw at room temperature or pop slices into the toaster straight from the freezer.
What's the secret to a fluffy loaf?
The key to achieving that wonderfully fluffy texture lies in the kneading process and using cold liquids. This allows for better gluten development. Don't forget to give your dough sufficient time to rise as well; this is crucial for that airy lift. If you want more tips, check out this baking guide for expert advice!
Feel free to share your experience or drop any other questions in the comments below!
Conclusion on Easy Milk Bread Loaf
In conclusion, making an easy milk bread loaf at home is simpler than you might think. With just a few ingredients and some patience, you can enjoy fluffy, wholesome bread that elevates any meal. Whether you're toasting it for breakfast or using it for sandwiches, this delightful loaf will quickly become a family favorite! For more tips and tricks, check out resources like King Arthur Flour for all your baking needs. Happy baking!
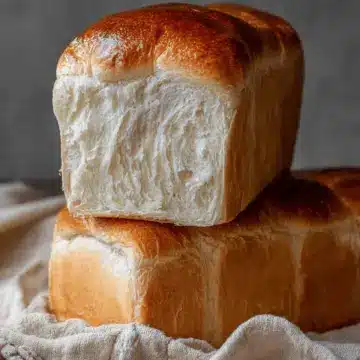
Easy Milk Bread Loaf
Equipment
- loaf pan
- Stand Mixer
Ingredients
- 500 g bread flour
- 40 g sugar
- 1.5 tsps instant yeast
- 225 g cold water a little bit less than 1 cup
- 115 g cold milk ½ cup
- 9 g sea salt 1½ tsp
- 25 g unsalted butter 1¾ tbsp
- butter for coating the pan and brushing the bread
- flour for coating the pan
Instructions
Making Bread Dough
- Mix bread flour, sugar, yeast, water and milk in a stand mixer, kneading on low speed until the dough is formed.
- Cover the mixing bowl and let it rest for 30 minutes. Meanwhile, bring the butter out from the fridge, cut it into 4 pieces and leave it on the counter to soften a little.
- Add salt and continue to knead the dough for 1 minute.
- Add butter cubes and knead until the dough passes the windowpane test. (This step takes about 7 minutes, with 6 minutes on low speed and 1 minute on medium speed.)
- Form the dough into a ball (it will be a bit sticky) and put it in a lightly greased bowl. Cover and let it rise in a warm place (between 82°F to 90°F) for 1 hour until it almost doubles in size.
Shaping
- Transfer the dough onto a working surface and cut it into 3 even pieces. Form each piece into a ball. Cover the dough balls with a damp dish towel or greased plastic wrap, allowing them to rest for 15 minutes.
- Roll the dough out with a rolling pin to an oval shape and then roll it up to a log, do the same for the other two pieces, cover and let it rest for another 15 minutes.
- For each log, rotate the dough 90 degrees before rolling them out again into long rectangles and rolling each rectangle back up into a cinnamon roll type of shape.
- Grease a 10 x 5 loaf pan and coat with a thin layer of flour. Put the rolled up dough into the pan, cover with greased plastic wrap and let it rise in a warm place until it fills 80-90% of the pan (this takes about 1-1.5 hours).
Baking
- Preheat the oven to 375°F in the last 20 minutes of proofing. Move the rack to about ⅓ of the way from the bottom.
- Put it in the oven to bake for 30-35 minutes. Loosely cover with a piece of foil after baking for 15 minutes to prevent the bread color from turning too dark.
- Remove bread from the oven and drop the pan on the counter top (from around two inches up) once to help prevent it from shrinking, then transfer the bread on a cooling rack right away. Brush the top with melted butter and let it cool for 15 minutes before enjoying.

Leave a Reply